The V Spot

Rants, observations, and home decorating... from a woman with no time for a blog.


  • Email
  • Facebook
  • Instagram
  • Pinterest
  • Twitter
  • Home
    • Privacy Policy
  • All Blog Posts
  • Crafts
    • All projects
    • By Project
      • Accessories
      • Artwork
      • Before & After
      • Cheap & Easy
      • decor
      • Floral Design & Centerpieces
      • Furniture
      • garden & outdoors
      • Glass
      • no-sew
      • Upcycle – Recycle
      • Wreaths
    • By Season
      • Spring
      • Summer
      • Fall
      • Winter
    • By Materials
      • corks
      • epsom salt
      • fabric
      • Mod Podge
      • Paper
      • Spray Paint
      • Sticks
    • Round-Ups
  • Holidays
    • Halloween
      • Pumpkins
    • Thanksgiving
    • Christmas
    • Valentine’s Day
    • St. Patrick’s Day
    • Easter
    • Cinco de Mayo
    • Mother’s Day
    • 4th of July
  • Food & Drink
    • All recipes
    • Breakfast
    • Appetizers
    • Side Dish
    • Main Dish
    • Desserts
    • Drinks & Wines
    • Tables & Decor
  • Real Life
    • Family
      • Grant
      • parenting
    • Tales To Tell
    • friends
    • Keepin’ It real
    • Tips & Tricks
      • cleaning
      • Health & Beauty
      • Let me help you
      • organization
    • Just Funny
      • No Mom wants to hear…
      • Exchange of the Day
      • Snarky
      • wacky strangers
      • Big Time Fail

How to use an indoor chandelier outside.

May 20, 2018 26 Comments

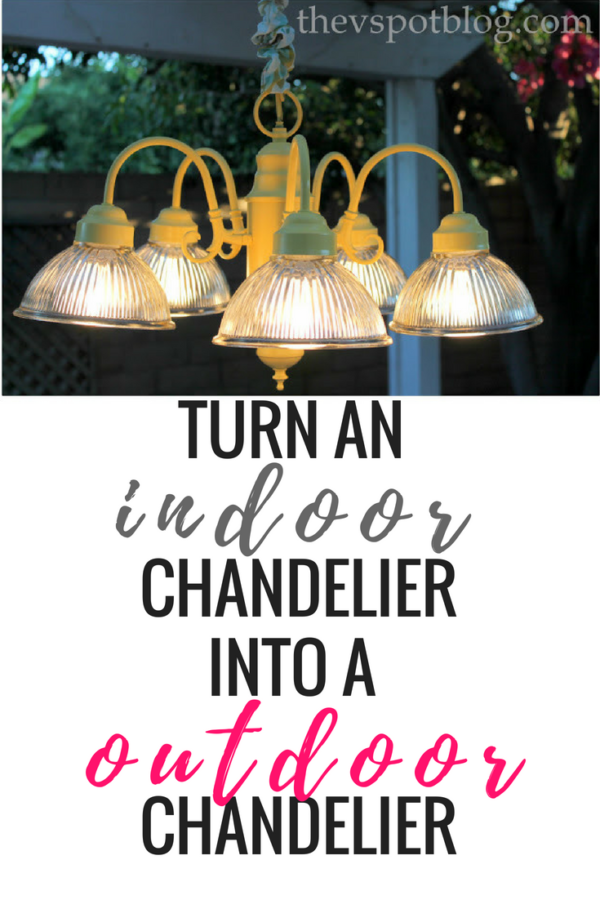
With the unofficial start of summer just around the corner, we all tend to want to spend more time outdoors. Summer dinners spent on the patio are better when you can see what you’re eating, right?  What happens if you want to have an outdoor chandelier but don’t have ceiling to hard wire it to? Many outdoor chandeliers I saw that I liked the look of were meant for candles, and I wanted more light and less hassle… So we took an indoor chandelier and altered it to allow us to use it outside with a simple extension cord.
A little ingenuity and a little money can go a long way.  I’ve even made chandeliers out of branches and out of tomato cages before.  But sometimes I want something a bit more, um, normal.
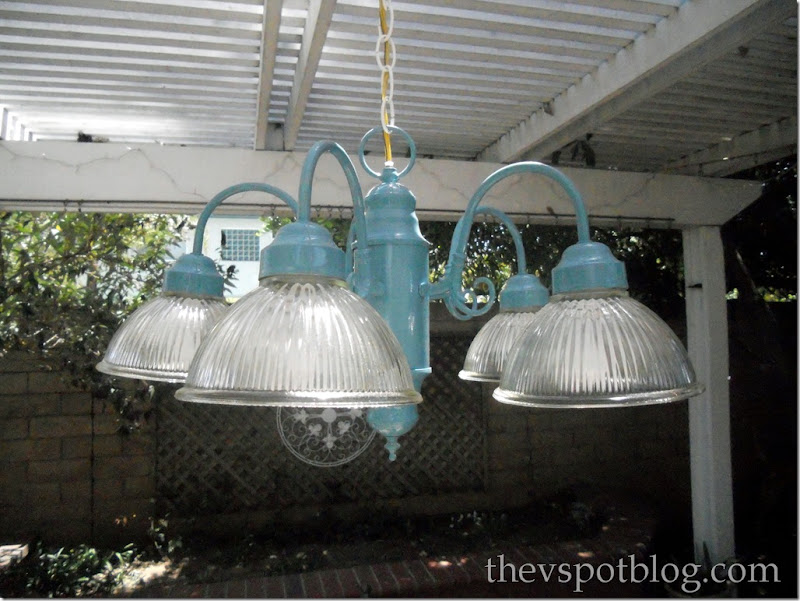
turquoise, chandelier, light, outdoor

At the time I originally worked on this project I wanted a turquoise chandelier. I found this at Lowe’s.  On sale for $20.   Want to know why it was only $20? Cuz it was UUUUGGGGGGGG-LLLEEEEEEEEEE!

brass chandelier, diy chandelier project

Yes. Brass.
Yes. An indoor light fixture.
No problem.

THIS POST CONTAINS AFFILIATE LINKS

You already know that I think spray paint can solve most of the world’s problems…. I also figured that Handsome Hubby could strip the wires and make it so I can plug this sucker into a regular outlet instead of needing to hardwire it into the ceiling.

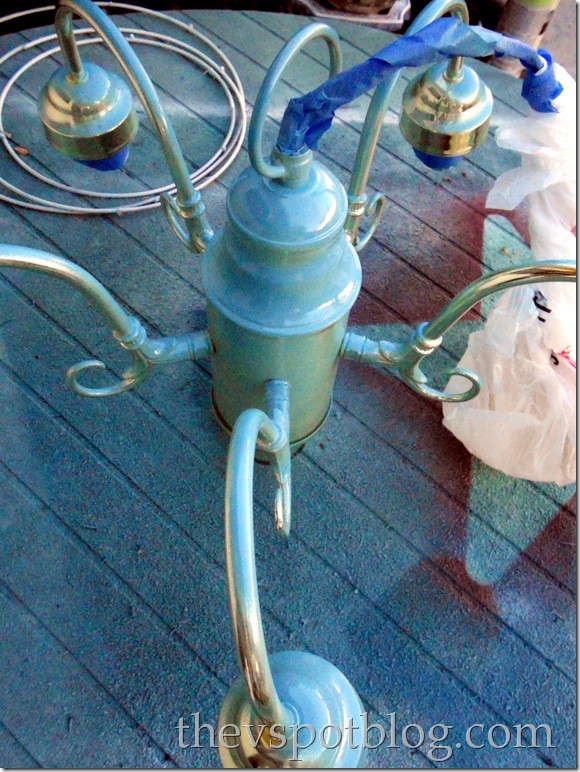
First: Spray paint.  In this case, Valspar’s Sea Gloss (My favorite color of the moment.)
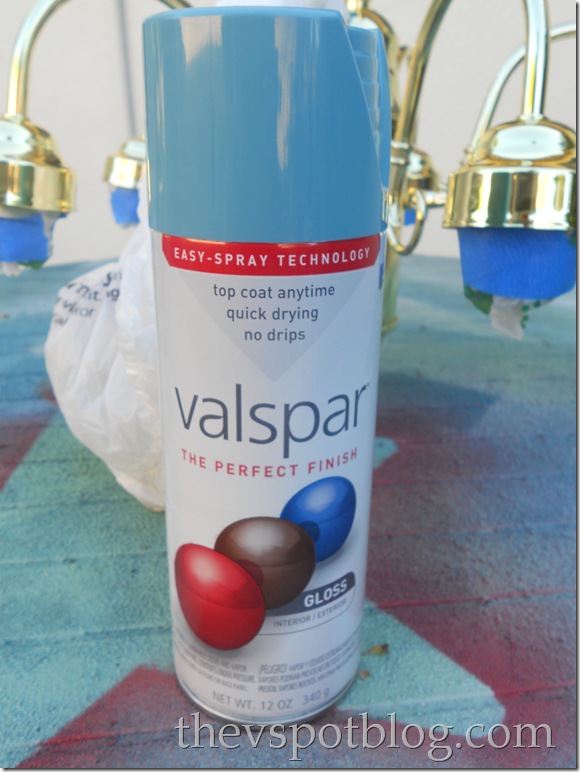
valspar, spray paint, mediterranean, blue

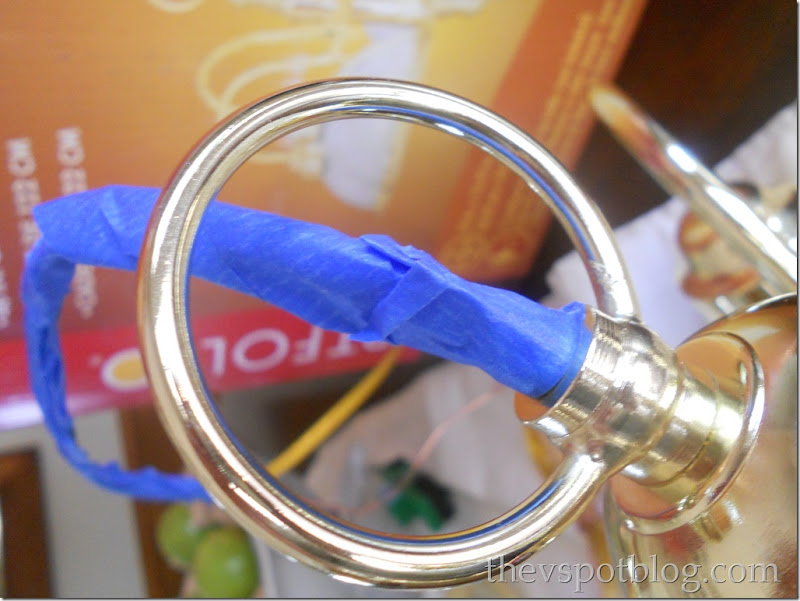
Tape off whatever you don’t want to get covered with paint…
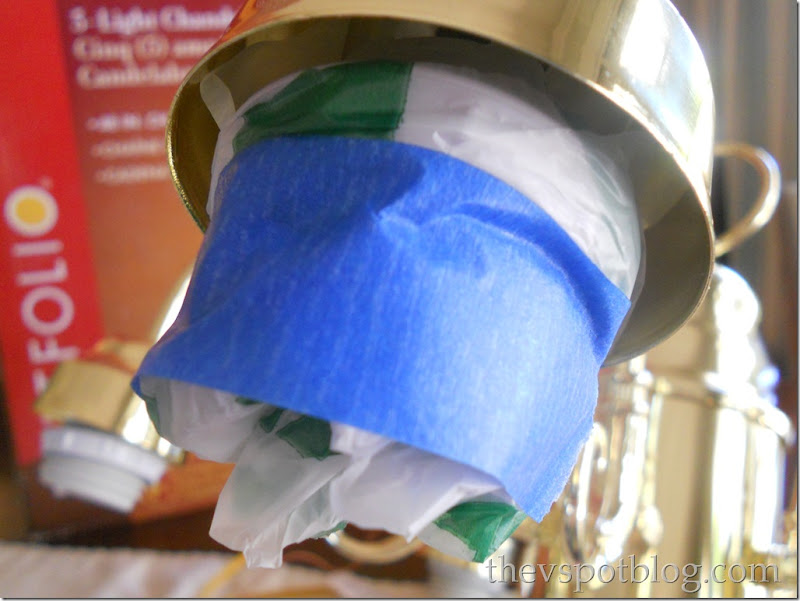
prepare for spray paint with painters tape, diy chandelier
diy chandelier project, spray paint, frog tape
spray paint project, chandelier for a patio

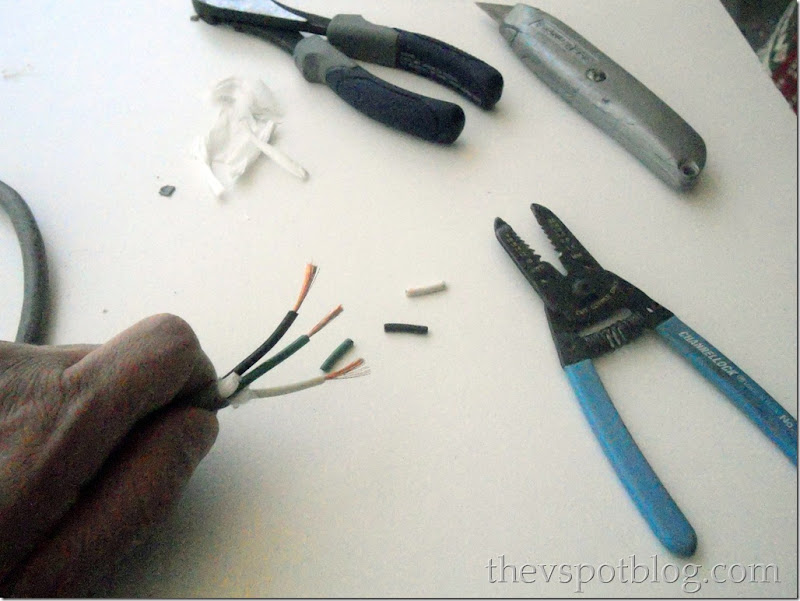
Gather your tools.  (Or in my case, have your husband gather his tools…)

wire stripper, tool, electrical tools
electrical tools, wires, splice

I had Handsome Hubby wire the end of the chandelier’s electrical wires to an extension cord, basically creating a “plug-in” light fixture, rather than one that needs to be hard-wired.
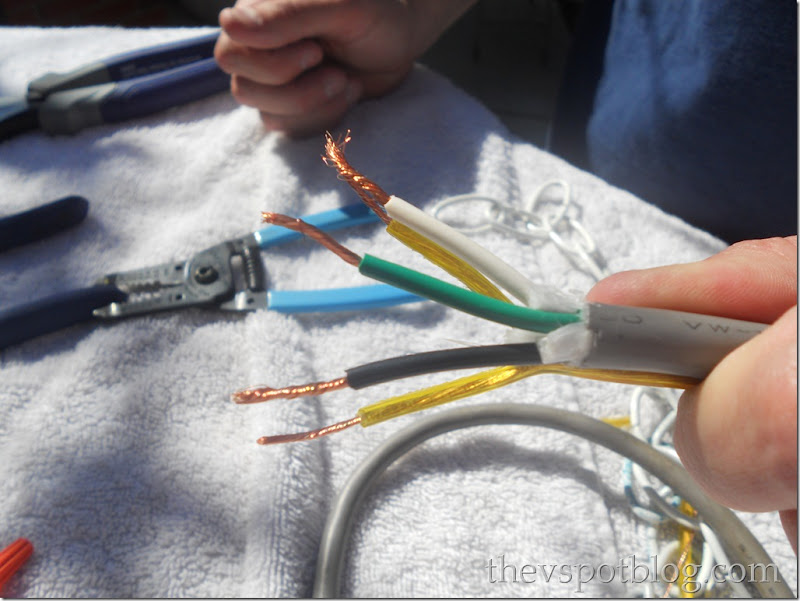
electrical, splice, tools, wires, diy chandelier for a patio

I have heard that there are adapters you can buy that make it super easy to do this, but I haven’t used them.
This worked great.  (You can google how to splice electrical wire and find lots of good tutorials.*)

Since HH wired the chandy’s electrical cord to an extension cord, we can hang it from our patio cover, run the cord over the top and plug it into a socket just like a regular lamp.  I made a cute fabric cord cover.  It looks cute.
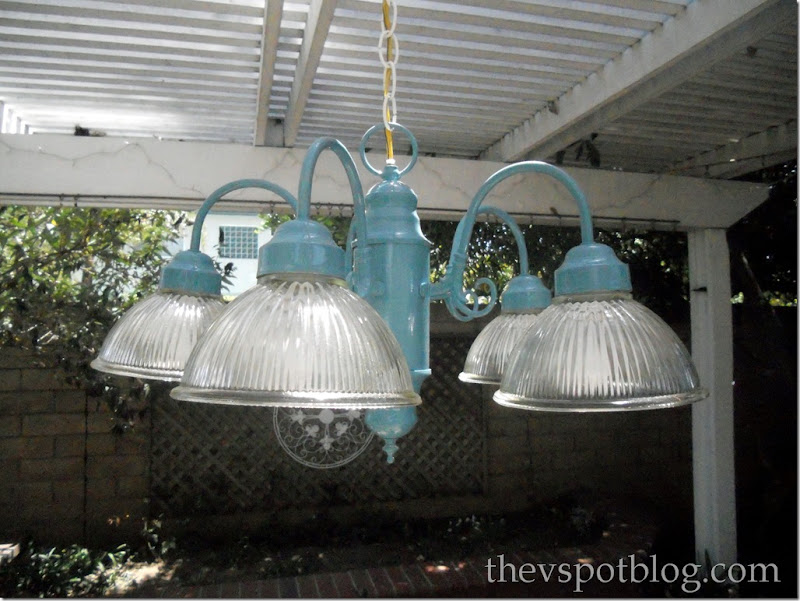
turquoise chandelier, outdoor, patio

I am having photography problems, but trust me, it looks waaay better than this at night. It’s a crummy shot.
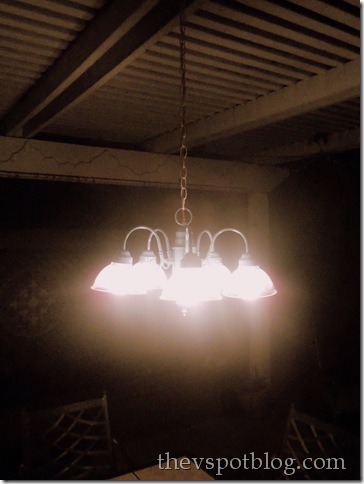
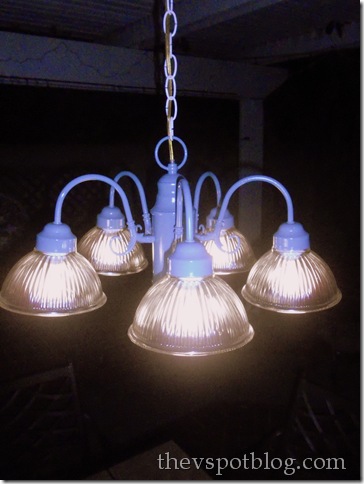
patio chandelier spray painted outdoor chandelier
The bottom line? I have an outdoor chandelier when I need it… in a color I want (that can be changed on a whim) and all for $20 plus half an hour’s worth of HH’s electrical skills.
Yay.
*Disclaimer: I am not an electrician. I had someone who knew what he was doing fix the wiring for me.
If you don’t have electrical know-how, for goodness sake, consult someone who does before you try it.
It’s obviously important to make sure you do this safely and correctly.
Don’t play with matches or electricity.
Always wash your hands after using the bathroom.
Use your manners and remember to say your prayers.

Filed Under: Bargain, Before and After, cheap and easy, Crafts, decor, garden & outdoors, Let me help you, project du jour, spray paint, Tips & Tricks

Comments

  1. Maddie Kertay- The Domestic Anarchist says

    August 16, 2011 at 5:09 PM

    Looks wonderful!.. we did the same but hard wired ours in with a GFCI since our chace of getting wet was somewhat higher but it never fails to get attention and with the price point you totally have a winner!

    Maddie

    Reply
  2. MiMi says

    August 16, 2011 at 5:40 PM

    I LOVE that color!

    Reply
  3. Kelsie From Our Country Home says

    August 16, 2011 at 6:00 PM

    Looks great…hehe @ ugly before photo…yes spray paint can solve all the worlds “ugly” problems 🙂

    Blessings Kelsie

    Reply
  4. Prudently Painted Vintage says

    August 16, 2011 at 9:37 PM

    Lol! Loving the disclaimer! Looks fabulous! I am loving that color going to have to buy me a can.

    Did lowes have any like this with the lights curved up. You know like a brass chandelier. I have been searching for two to spray paint for my master.

    Reply
  5. Angie@Echoes of Laughter says

    August 17, 2011 at 2:14 AM

    It looks awesome! Isn’t spray paint just the best thing on planet earth? Angie xo

    Reply
  6. Emmy says

    August 17, 2011 at 3:57 AM

    Cute! And your disclaimer made my day- too funny

    Reply
  7. our daily dishes says

    August 17, 2011 at 4:16 AM

    looks great~

    Reply
  8. Boulter trouble says

    August 17, 2011 at 5:42 AM

    love the color. currently trying to to convince the hubby to let me paint the bedroom that color.

    Reply
  9. Johnnie says

    August 17, 2011 at 9:51 AM

    Great tutorial Viv. I am scared of electric wires. I will just admire your outdoor chandelier.

    Reply
  10. Handy Man, Crafty Woman says

    August 17, 2011 at 10:12 AM

    I love the trend to bring the inside out! Beautiful job! Thank you for linking to Wicked Awesome Wednesday!

    Reply
  11. SueAnn says

    August 17, 2011 at 10:55 AM

    Love love love the chandy!! Beautiful!!
    And I always wash my hands!! Ha!
    Hugs
    SueAnn

    Reply
  12. Good Time Charlie says

    August 17, 2011 at 3:03 PM

    Really, really great idea. Will be so nice to eat outside and not have to string little lights everywhere to see!

    Reply
  13. Jenn Erickson says

    August 18, 2011 at 12:06 AM

    Viv, you have a great eye for potential and possibilities. I love what you did with that chandelier — from chintzy to chic! I can see why that paint color is your favorite too. So pretty!

    Reply
  14. Holly Lefevre says

    August 18, 2011 at 5:53 AM

    Clever, clever, clever again! Lovin’ that color. Everyone needs more chandys in their life!

    Reply
  15. Jennifer says

    August 18, 2011 at 12:04 PM

    I’ve been wanting to get a chandelier to hang from our pergola on our deck. Thanks for the tips!
    Jen

    Reply
  16. Lauren @ My Wonderfully Made says

    August 18, 2011 at 7:41 PM

    Beautiful! Love the color and thanks for the tips for re-wiring these.

    Reply
  17. Jennifer says

    August 18, 2011 at 9:31 PM

    Love it! My mom is wanting to paint her ugly inside one and now I can tell her it’s so do-able!! Thanks lady!

    Reply
  18. gena says

    August 21, 2011 at 4:27 AM

    I keep coming back to this, over and over. LOVE IT ! I’m thinking I need one on the porch off my bedroom…. lavender of course !

    thank you so much for the nifty, thrifty idea !

    gena

    Reply
  19. Faith, Trust, and a Little Pixie Dust says

    August 22, 2011 at 3:32 AM

    Hi Vivienne, Thanks so much for linking this to my party. I took one look at this & knew it was one of your projects! It’s one of your signature colors! Love it.

    Warmly, Michelle

    Reply
  20. Sara says

    August 23, 2011 at 12:12 AM

    GORGEOUS!! Would love for you to link this project to my brand new turquoise lovin’ linky party!! 😉

    Reply
  21. gail says

    August 25, 2011 at 7:02 PM

    yup! I love a good redo. I like to make mine into candelabras. 🙂
    LOVE your new light.
    gail

    Reply
  22. Home Lighting says

    September 6, 2011 at 7:06 AM

    GENIUS! Turquoise is my fave, it’s refreshing to the eyes. By the way,
    you had me laughing at “UUUGGG-LEEE” 🙂

    Reply
  23. clearance chandeliers says

    September 23, 2011 at 1:58 AM

    What you did looks great. That was a very resourceful one you did. Keep it up.

    Reply
  24. Gail says

    September 6, 2016 at 1:02 PM

    does anyone have thoughts about making these indoor chandeliers safe for damp areas, ie covered porches/patios? I understand that indoor rated fixtures can have wiring connections that corrode and become unsafe when used outdoors..

    Reply
  25. Robyn says

    February 14, 2021 at 1:00 PM

    I bought a CHANDELierish LIGHTing fixture off of craigslist for my front patio $25. Now, i realize I dont know If it was meant to be an outside Chandi!!!! Is there anyway or method to know if this is meant for outdoors or not???

    Reply
    • Vivienne says

      March 15, 2021 at 4:58 PM

      Look at the wiring. Is it meant to be hard wired into a ceiling? Then it’s for inside use… or at least a covered ceiling.

Leave a Reply Cancel reply

Your email address will not be published. Required fields are marked *

you might also like:

cream, elegant, pumpkin, green, bling, ribbon, thanksgiving, paint
Turning plain pumpkins into elegant pumpkins for Thanksgiving.
How to turn an old washing machine drum into a fire pit. DIY
Turn your old washing machine into a fire pit.

How to make a Haunted Tree. (With things you already have, of course.)
twigs, sticks, branches, black pot, pumpkin, Halloween, porch, decorations
Black twig and pumpkin Halloween porch decor.

clippings, Christmas trees, branches, greenery
Simple Christmas planters. (Using Christmas tree clippings.)
Holiday decorating using your own photos.

halloween, make-up, pumpkins
Using clearance Halloween make-up for your autumn decor…
My Halloween wreath….all it’s missing is a whip.

Make faux Mercury Glass pumpkins out of Dollar Store cheesiness.
The one where the dog messes up my “After” photos.

Recent Posts

  • Spooky porch decor and a Halloween Chair.
  • DIY Plaid Wine Glasses
  • Easy Sand-N-Sea Flower Pots
  • How to use an indoor chandelier outside.
  • Quesadillas made with slow cooker Carnitas. (Pork in a crock pot… nothing is easier.)
  • No Sew Project: How to recover your outdoor cushions using fabric and a glue gun.
  • Upcycle project: plain flower pot into decorative ceramic planter.
  • An easy Valentine’s Day globe.
  • Simple, winter themed decor. (Using what you already have, of course.)
  • Easy Goat Cheese Appetizer Recipe

Amazon Associates Disclosure

Vivienne Wagner is a participant in the Amazon Services LLC Associates Program, an affiliate advertising program designed to provide a means for sites to earn advertising fees by advertising and linking to amazon.com.

Popular Posts

  • Cleaning Stove Burners & Grates using Ammonia (The best...
    Comments (631) | Jul 07, 2011
  • Easy Dessert Recipe: Oreo Cheesecake Bites
    Comments (64) | Mar 04, 2014
  • How to store fresh produce – From A to Zucchini.
    Comments (111) | Jan 25, 2012
  • No Sew Project: How to recover your outdoor cushions using f...
    Comments (110) | Mar 03, 2018
  • DIY wine bottle crafts.
    Comments (10) | Aug 22, 2013
Privacy

Copyright © 2023 The V Spot · Website by Houndstooth Media Group