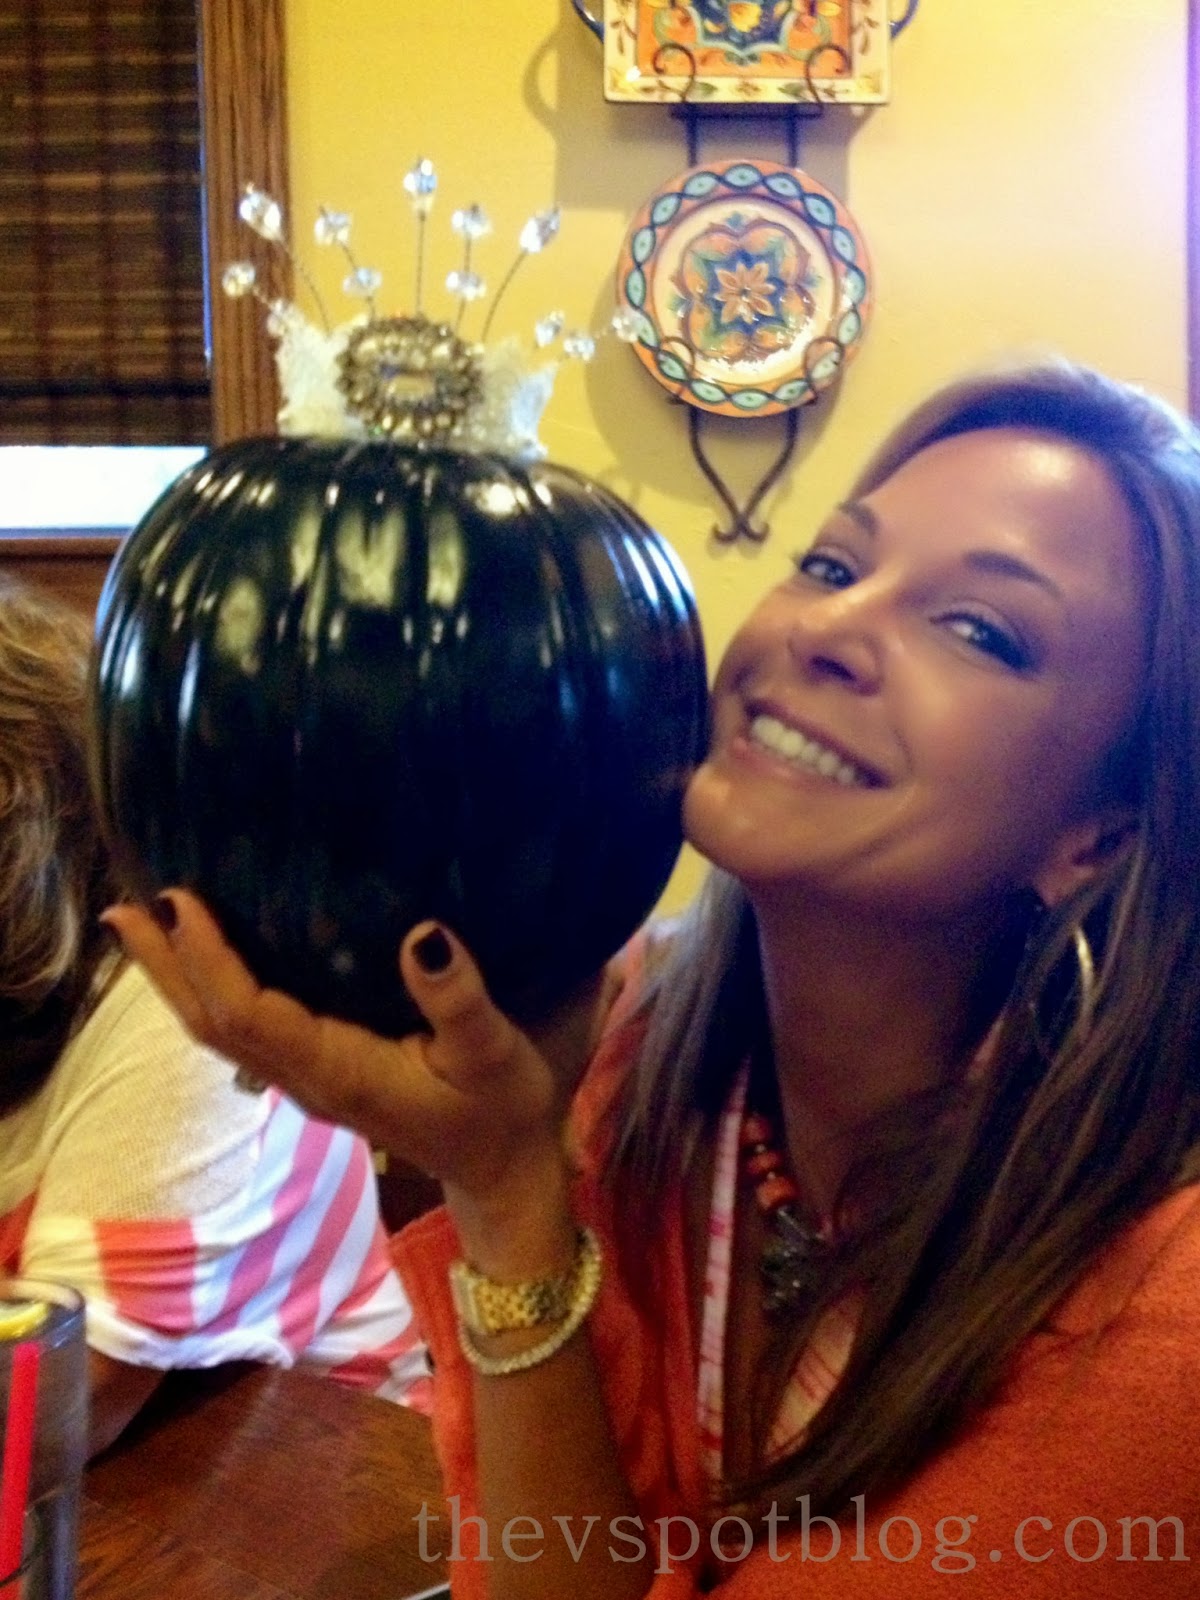
OK, so if Jack Skellington is the Pumpkin King, I wondered what the Pumpkin Queen might look like…. So I decided to make a pumpkin with a crown on it.
")
My BFF loves Halloween as much as I do, so I thought I’d make a pumpkin for her. With a crown. Because who wouldn’t want that?

You will need:
- Foam pumpkins
- Gloss black spray paint
- Floral pins
- Lace Ribbon or fabric
- Stiffy Fabric Stiffener
- Wired crystals (I found these at 90% clearance in Michaels’ Quinceanera aisle.)
Start by spraying the pumpkin with the black spray paint. When dry, you can start creating what will be the shape for the crown.

Take the wired crystals and poke them through the foam pumpkin in a circular pattern. I had two different shapes of crystals. Looking down at the stem, I took one of the shapes and poked them through at 12, 3 and 6 o’clock positions around the stem, creating what would be about a 4 inch diameter circle. I took the other crystal shape, and making a slightly smaller circle, poked it through the pumpkin at 1:30, 4:30, 7:30 and 10:30 positions around the stem. This staggers the position of the crystal shapes. Does that make sense? (If not, pretend that you’re cutting a pizza and just space those lil’ buggers evenly.)

Next, cut a length of lace ribbon to a length that will wrap around your wires and create a crown the size that you want. Soak it in the Stiffy medium and follow directions on the package for how to do this. Usually, you would drape the fabric over an object and let it dry, but I was finding that I wasn’t going to get quite the shape that I wanted. So instead, I soaked the piece of lace in the Stiffy and smoothed it out flat on an old cookie sheet and put it in the oven for about an hour at 200 degrees.
Keep testing it. It should be firm and pliable, not hard and unbending. Wrap the hardened piece of lace around the outside of your wired crystals. Take your floral pins and gently push down through the lace and into the pumpkin. Do this at even intervals around the perimeter of your crown.
To add the jeweled embellishment: (A leftover from my Tori Spelling jewelry stash.)
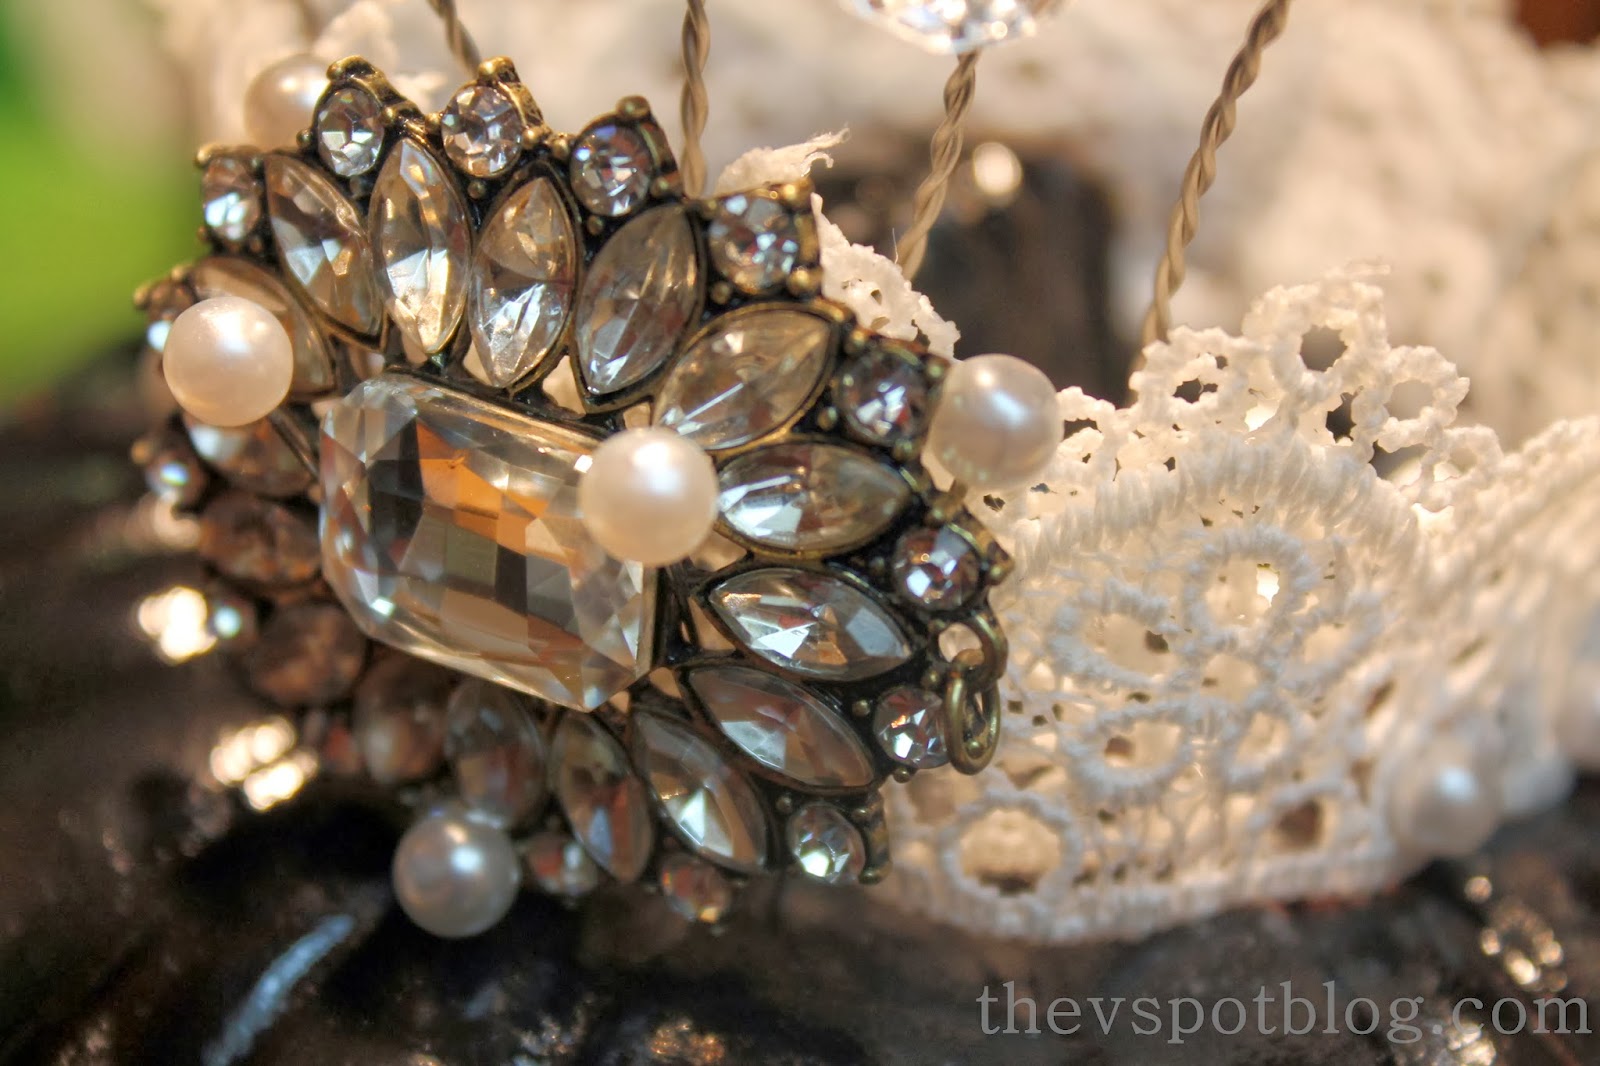
Again, take the floral pins and push them through the gaps in your broach or embellishment and push them down into the pumpkin. Do that evenly on each side of the piece. I also added a few extra floral pins to balance it aesthetically. They don’t do anything but make it look a bit more balanced.
Once you get the embellishment attached, take the top of the still pliable lace and flair it out slightly. It will harden completely after about 24 hours.
I love how this pumpkin turned out … And I kind of wanted to keep it.

(But I love my friend more.)
Then again, this was such an easy project, I can make another one up really fast. (And so can you!)
Want some a few more fab Halloween projects? Check these out!

That is awesome, so in love with it
What a regal looking pumpkin! Stiffy is so awesome!
Love this pumpkin! The crown rocks! And as a gift for your BFF? Priceless!
Oh Vivienne you clever girl! Every pumpkin needs a crown (and a crow:)). Love this so much in all it's lacy loveliness!
PS is your friend Eva LaRue? I loved her in CSI Miami 🙂
Amy*
I would have wanted to keep it, too!
This is so cute! I love that you gave it to your BFF. I am definitely adding this to my list of things I want to make for Halloween. Funny about the discounted Quinceanera aisle. I have found discounted crystals there too:) Pinning too.
Thanks Karen! I found all sorts of great stuff there. (Which is good, because I need to make another pumpkin now.) 🙂