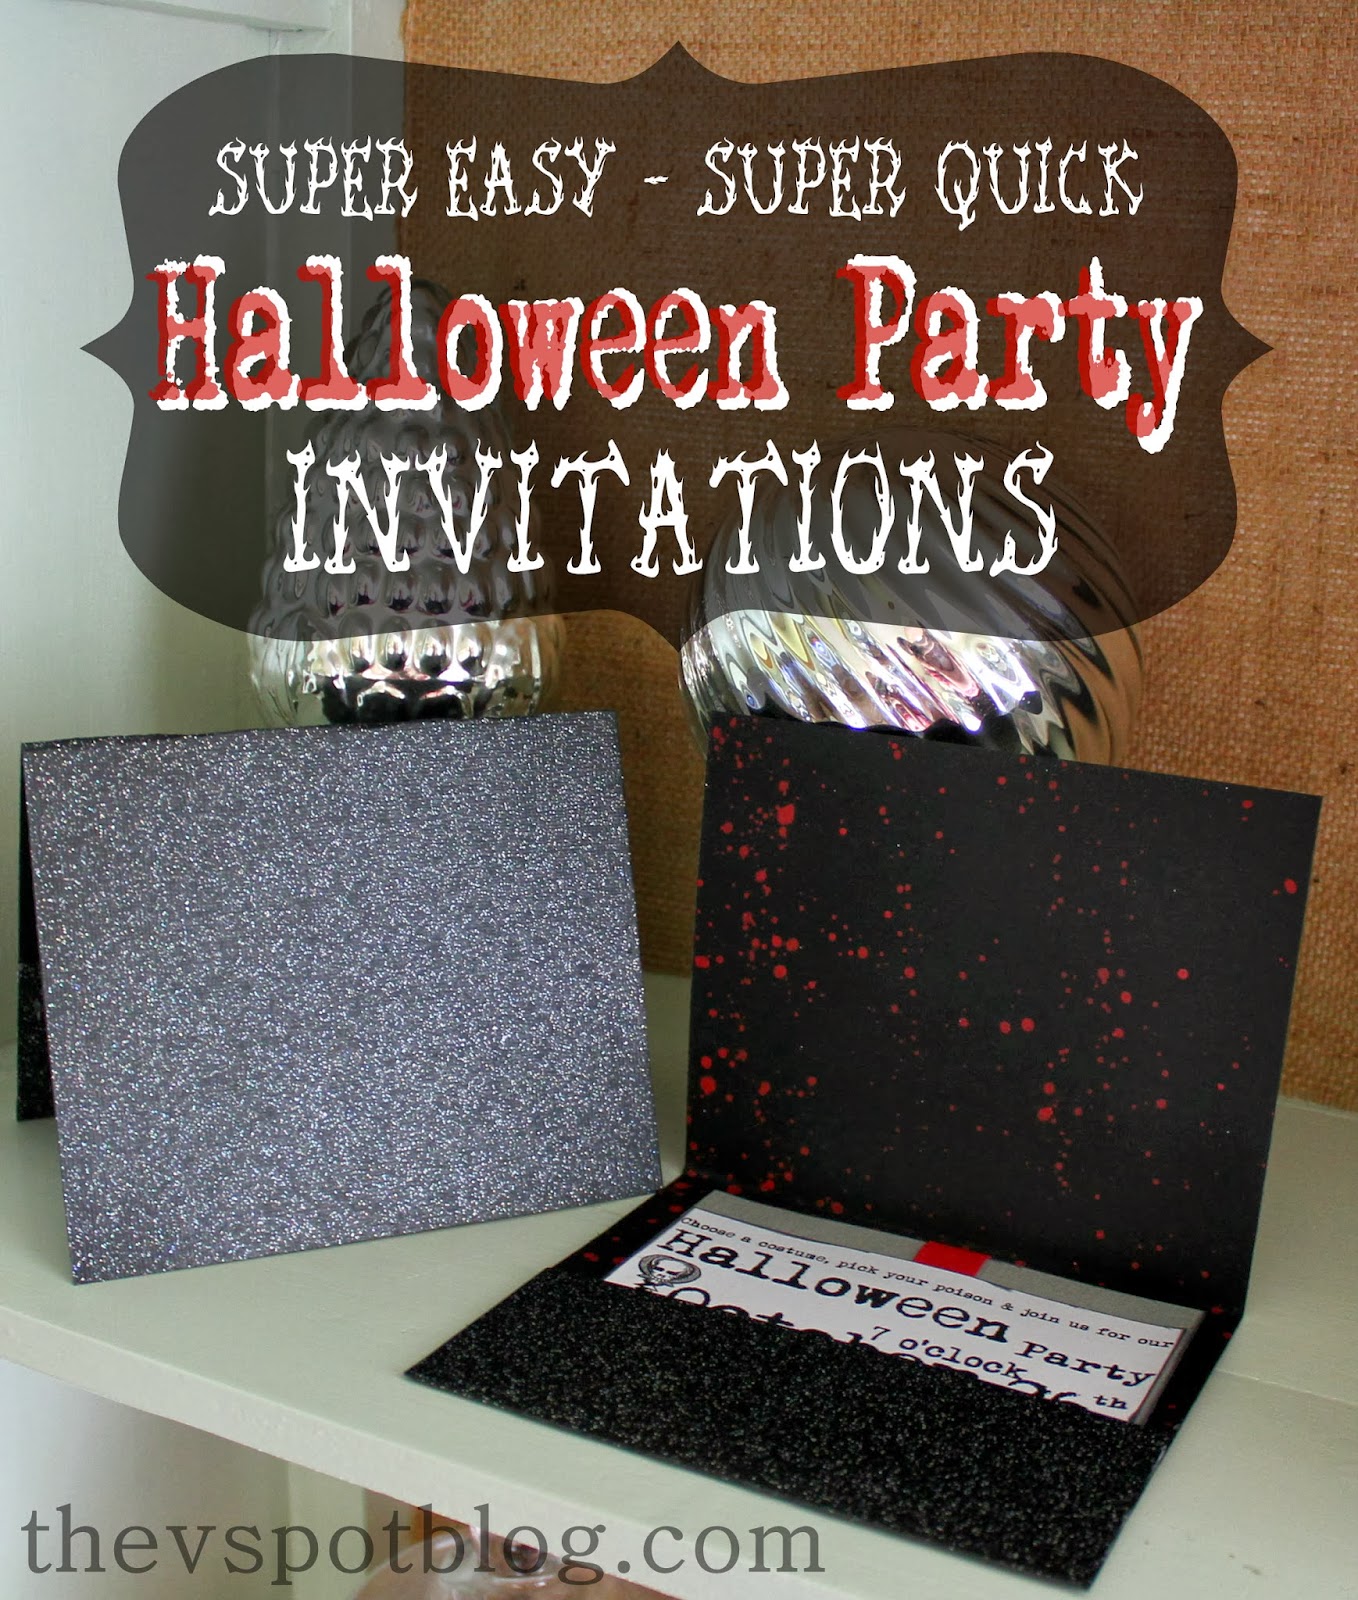
Each year I hand make the invitations for our Halloween Party. I enjoy doing it, and I usually try to come up with something a little different each time I make them. However, this year I was so pressed for time that I just did an even easier version of the Halloween party invitations I made last year.
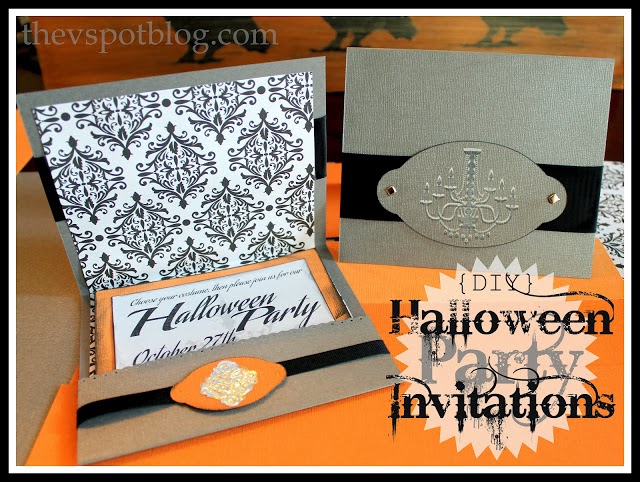
The invitations I made last year were this same basic pocket style card and insert, but last year’s had more ribbon and embellishments.
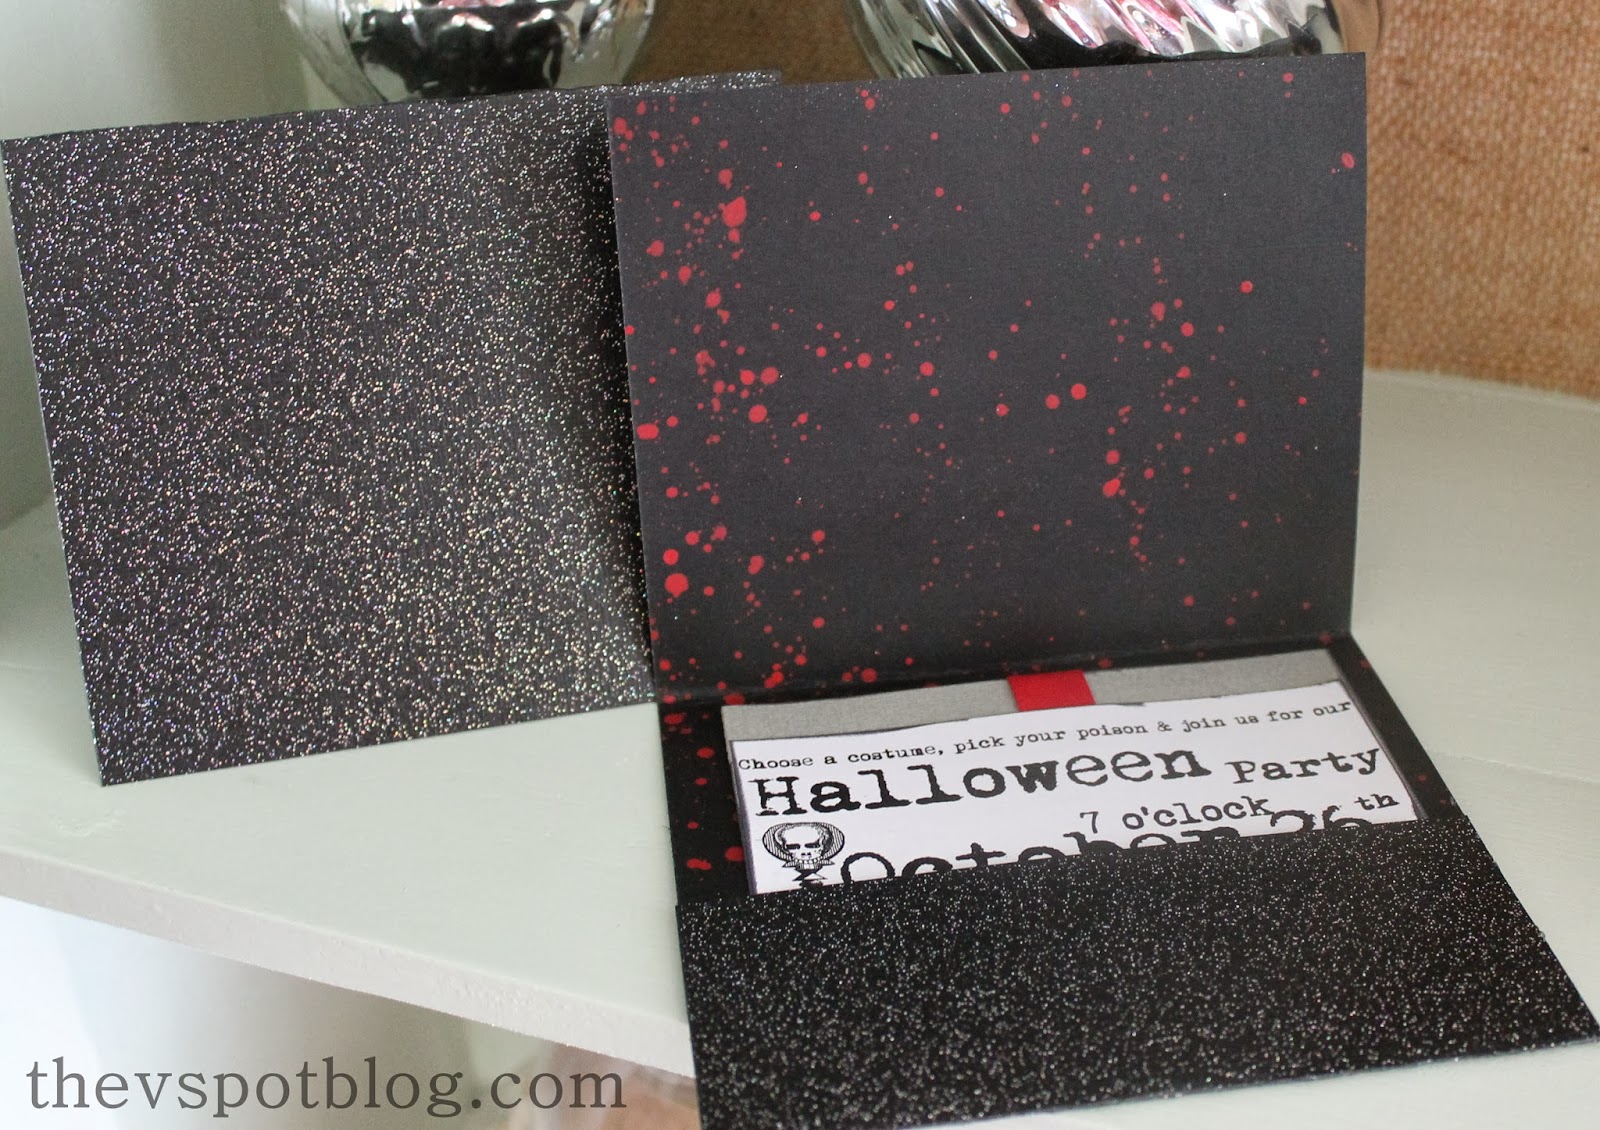
This year I just didn’t have the time or energy, but they are still cute. I started off by choosing a black, glittered 12 x 12 cardstock. I cut it in half so that I ended up with two 6 x 12 pieces. When I had enough pieces cut, I took them out to our backyard, laid them out on our lawn, side by side and very close together, glittered side down.
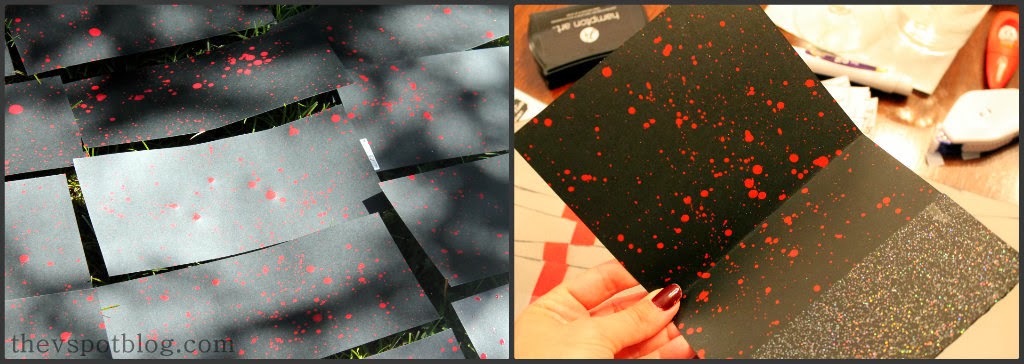
I mixed a little red acrylic paint with just a few drops of water, dipped a paintbrush in it and flicked the red paint all across the cardstock, splatter-style. Once the paint was dry, I brought them all in and folded them into this pocket shape. Measure 2 inches and make a fold. This creates the pocket. Then simply fold the card in half. I ended up using my Scotch Adhesive Dot Roller and a few drops of super glue to create the pocket. (I wanted it to be nice and strong.)
To create the actual invitation card, I basically created a text photo. I opened up ipiccy.com and edited one of my existing photos. I basically turned the whole photo white and then played around adding the text and a skeleton key graphic from The Graphics Fairy.

The whole thing was saved as a jpeg then inserted into a word document. Four of the photos fit on one piece of letter sized white cardstock. Print and cut.
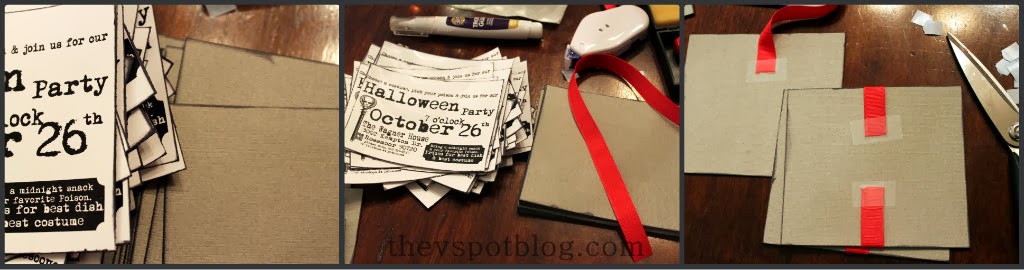
While I just kind of eyeball the cuts on the white, printed paper, I measure the cardstock that I mount it to. I chose a gray 12 x 12 cardstock and was able to cut four pieces that measured 5.25″ by 4.75″ each. I rubbed the edges of the cut pieces with a black stamp ink pad. I took a little red grosgrain ribbon, and taped one edge to the front of the gray cardstock, wrapped it around the back and taped the other end. When I adhered the white, printed piece it covered the ends of the ribbon.
Easy!
While they definitely are not as detailed as last year’s, they got the job done. Click HERE to see my easy invitations from 2011.
Now to figure out what I’m going to wear to my own party!

Leave a Reply