I’m so lucky today to have my friend Shannon from Madigan Made here to share this cute project with you. It’s one of those projects that make me want to smack myself in the forehead and say “Oh my gosh! How brilliant is that, and why didn’t I think of that!?!” I just love these little hand made cards!
Hi V Spot readers! I’m thrilled Vivienne invited me to spend time here on her blog!

My name is Shannon and I blog over at Madigan Made. Some people have called me the Clark Kent of craft blogging. By day, I work as a pharmacist and by night I create simple crafts, décor and much more. I love sharing easy and creative projects with my readers… like these pretty handmade cards.
I’ve recently been on a sparkle kick with my craft projects. In fact, I spent a whole week showing my readers ways to craft with glitter, sequins and rhinestones. It was a lot of fun!
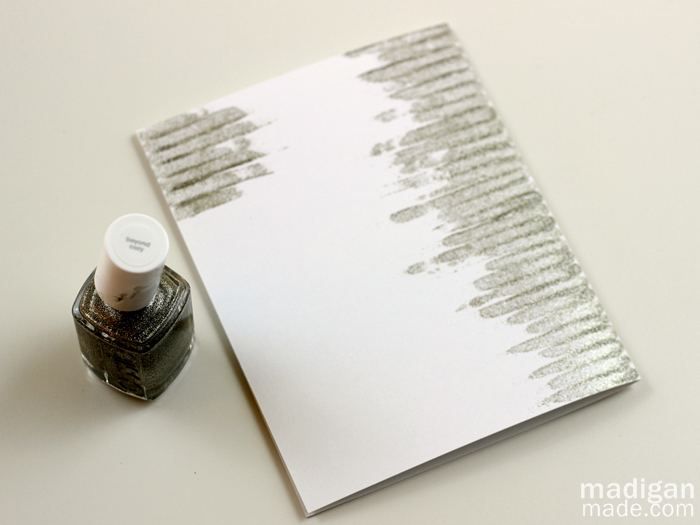
When I was looking at my nails one day (covered in glitter nail polish), I thought it might be fun to craft with the nail polish. Simple cards seem like an easy way to experiment with the paint. And I love that I get to use glitter, without the mess of having it get everywhere!
Want to see how I made these glitter cards? It’s pretty easy…
How to make simple cards with glitter nail polish:
Supplies needed:
- 8.5” x 11” white card stock
- Invitation size envelopes
- Paper cutter
- Nail polish (the glittery stuff, if you’re like me)
- Small stamps & stamp pad (optional)
Instructions:
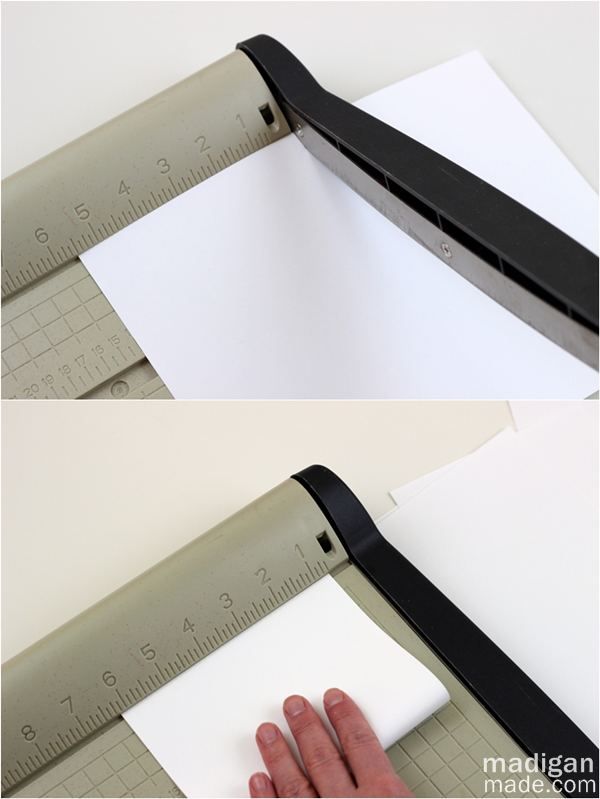
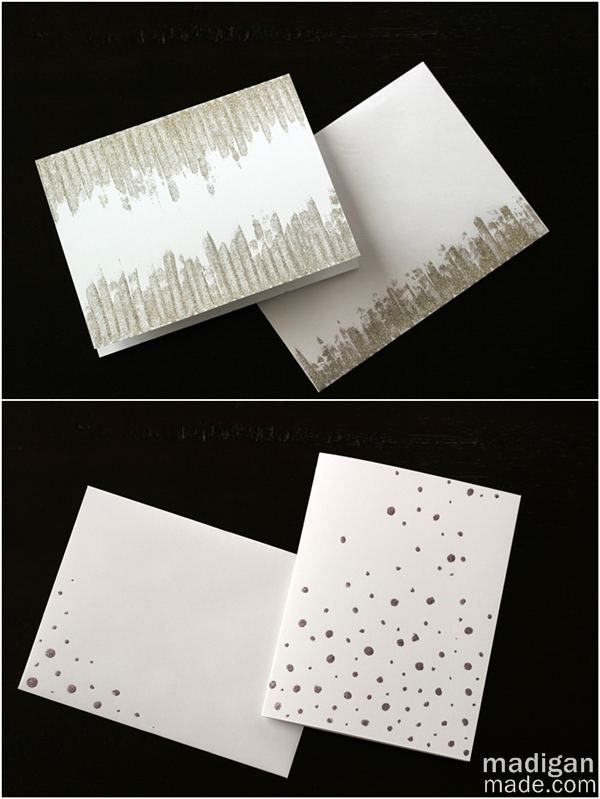
First, cut your card stock in half to make pieces that are 8.5” x 5.5”. Fold those pieces in half. Now you have a cute card that will fit in your envelopes.
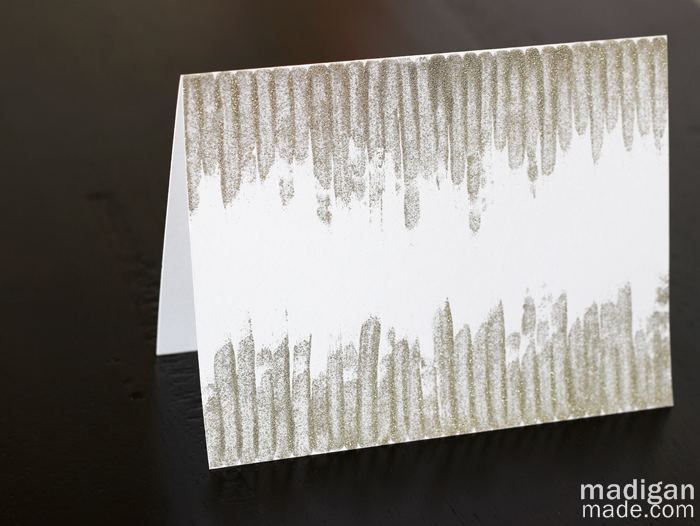
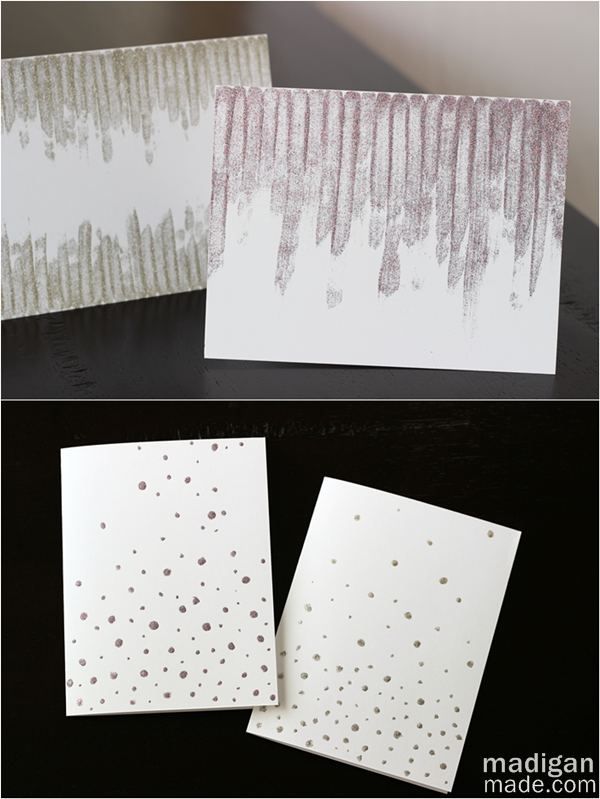
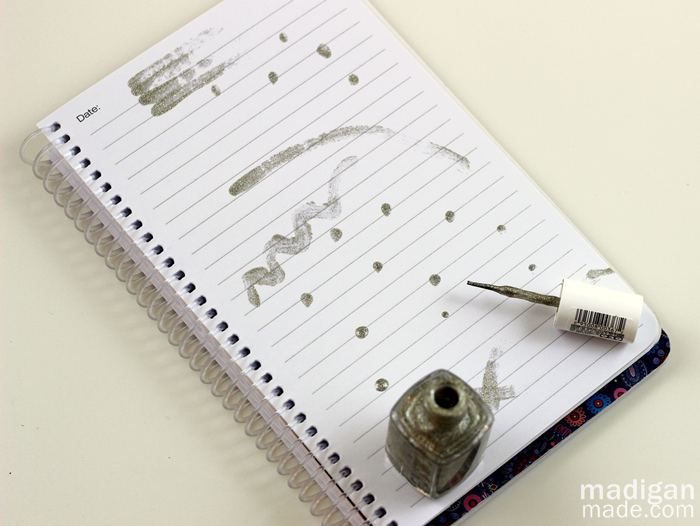
Play with your medium (ahem, that’s your nail polish silly!). Experiment with different brushstrokes on a scrap piece of paper. I chose to use dragged stripes of paint on some cards and scattered dots on the others.
Get busy decorating your cards. Have fun! It’s ok if the painting is not perfect. We’re going to call that part of the charm of handmade cards, right?
Don’t forget to decorate your envelopes a little to match!
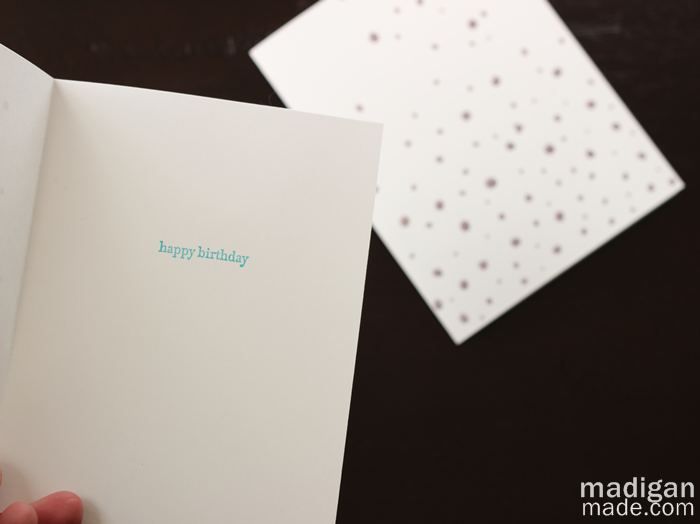
Stamp a simple sentiment on the inside… or leave the card blank if you want.
Send your sparkly handmade cards to family and friends. They’ll oooh and aah over the fancy glitter. And let them wonder how you had time to make your own cards! It’ll be our secret that they were so simple!

If you crave easy craft ideas like this project, then please find me online and say hi! I’m a big believer that creativity can be THAT simple… let me show you! You can find me over at my blog, Madigan Made, and follow me on Facebook, Twitter, Google+ or Pinterest, too.
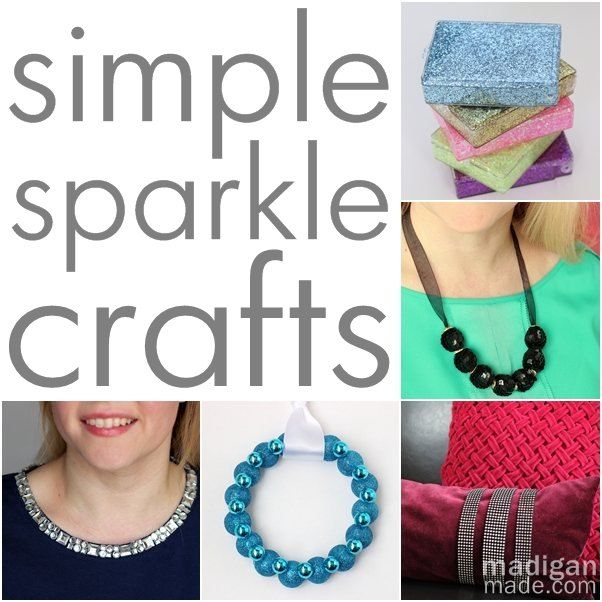
And if you love sparkle, you might want to check out a few of my Simple Sparkle Week projects for more glitter inspiration!
Yes! Definitely check out the sparkle crafts over at Madigan Made! There are a few other things that you should be sure to check out while you’re there too. I don’t watch Downton Abby, but this Downton Abby inspired headband she made is adorable! I also think this clipboard wall is just the coolest thing. What’s a clipboard wall, you ask…? Go check it out. This bowl made out of ribbon and Mod Podge and this glass marble table top are very cool too. Um, pretty much I love whatever Shannon does. I could probably link to every single post, but it is probably more efficient for you to just go over there and poke around on your own. Have fun!

I think I am supposed to be sending out more handwritten notes. I try to send at least one or two a week, just because, or thank you for something someone did or said. My craft 11 year old will be all over this project. Great idea. I don’t love the selection of note cards at Target and the like, and I don’t always like to pay Papyrus prices. Perfect solution!
Brilliant! Seriously why haven’t i ever seen this idea before?
*DOH* (Hits forehead.)
What! Why haven’t I thought of this. Great idea!!!