Hello all! Thanks to Vivienne for letting me guest post on her awesome site! I’m Megan, blogger of C’mon Get Crafty and creator of Birthday Blocks. I have too much creativity on my hands and not enough time. I work a full-time job, have two rambunctious boys, one gamer husband, and my own crafty demons to contend with on a daily basis. What’s a crafty girl to do??
Having just recently showcased the Narrow Gallery Wall I created for my mother’s house, gallery walls are kind of on my brain, I realized I’d never shown the first gallery wall I created in my new home, or how I made it – on the cheap. Here is how I created my DIY gallery wall on a budget.

On the cheap is kind of my thing. Picture frames are shockingly expensive, so I always search for the cheap alternatives. I’d love to share with you how to add unique pictures to your gallery wall on the cheap!

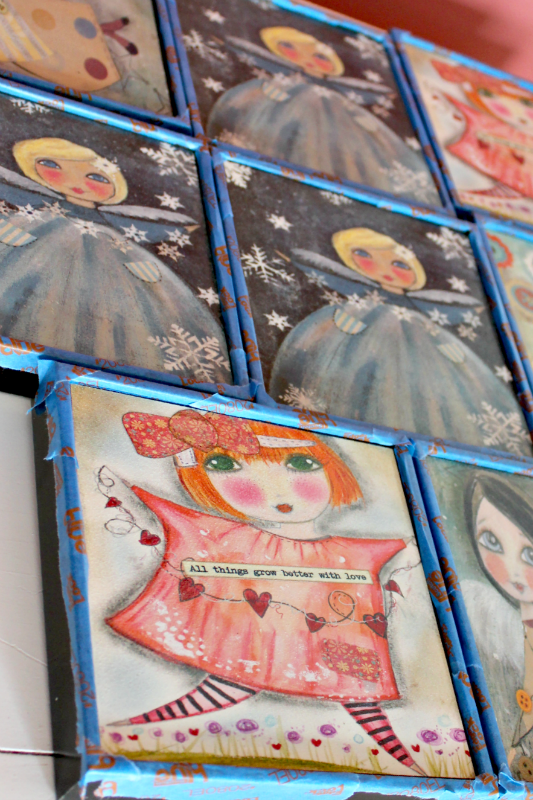
I found these art prints at my local Meijer on clearance for $1 a piece. Not exactly my cup of tea, but I scooped up the last eight they had.
I taped off the front of each picture, and painted them black. You can leave it like that for sure, but I also ended up applying a layer of vinyl over the top. You could use a patterned card stock too.
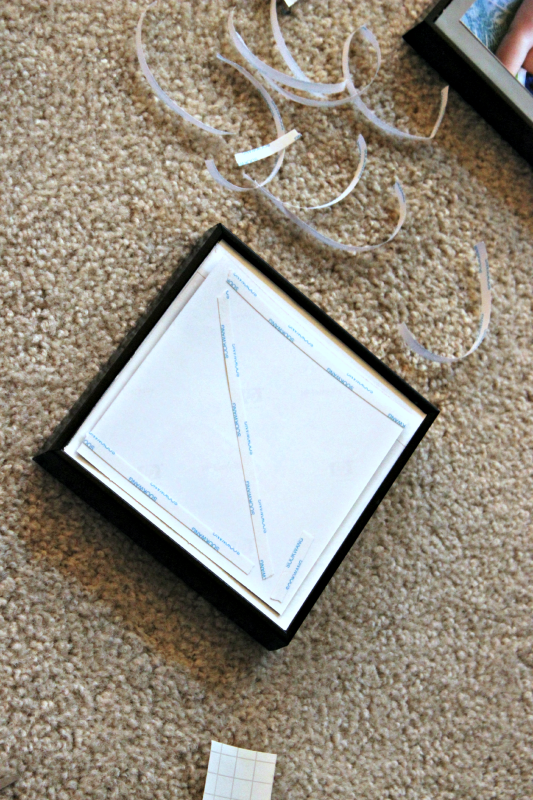
Once the background was painted, (or vinyled), I used my beloved Skor-tape to adhere photo prints to the frame.
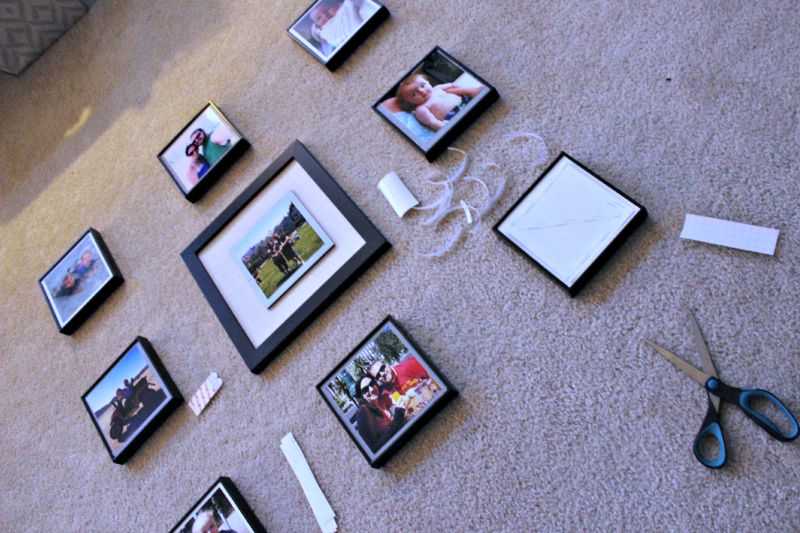
Lay out your design on the floor, and measure. This way, you can manipulate and decide on the right pattern. I went for a basic box for this one, adding in one large frame in the middle (also on clearance, and covering up the art print in the center with another photo.
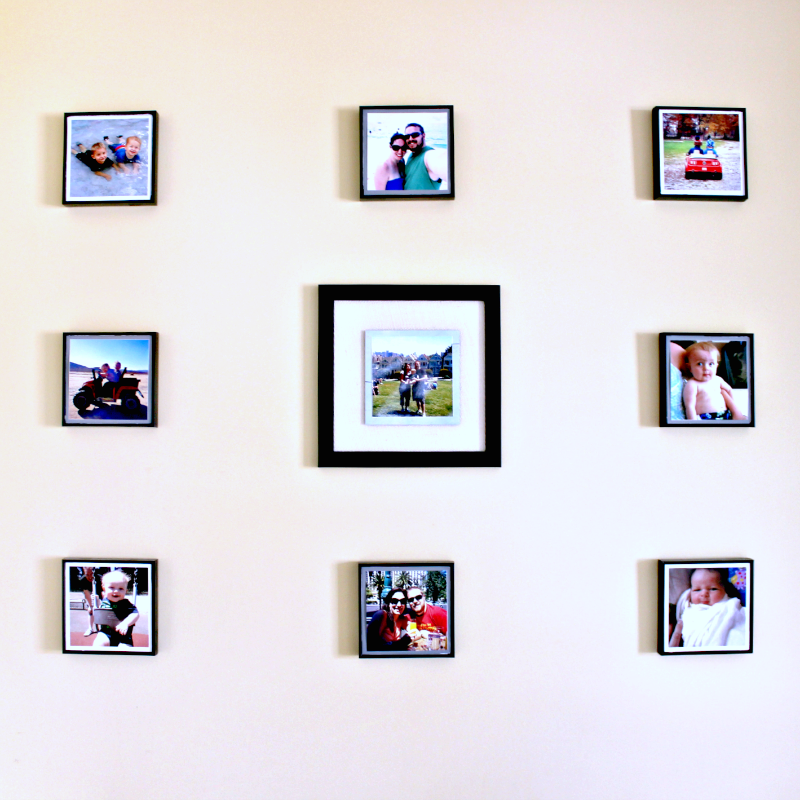
It isn’t the most glamorous, but sometimes the simple look works best. And I made it for about $15 with paint, frame, and ink!

Megan is the crazy DIY’er behind C’mon Get Crafty, a veritable hodge-podge of all things crafty because she simply can’t make up her mind. Check out her other posts below!


just love all your ideas