
Hi there! I’m Kim from Exquisitely Unremarkable and I’m so excited that Vivienne asked me to visit today and share a craft. I generally blog about super simple, yet elegant home decor projects, that anyone can do and look like a champ. Today, I would like to show you how to make a flawless easy DIY wooden sign in about ten minutes.
Ten minutes, you say?
Yup, you heard me right! I just use a wall decor sticker and add it to a board.
Trust me when I say it doesn’t get any easier than this!
There are tons of very sweet wall decor stickers for sale at craft and dollar stores. They even have patterns for nurseries, kids’ rooms and holidays. Just pick one you like and cut a board to size or have your local home improvement store cut it for free.

Paint the board, let it dry for a few minutes, peel the sticker off…

…and place it on your board. If it’s not exactly where you want it or it’s crooked, no problem. These stickers are designed to be removed from a wall without damaging the paint. Just peel it up and reposition it.
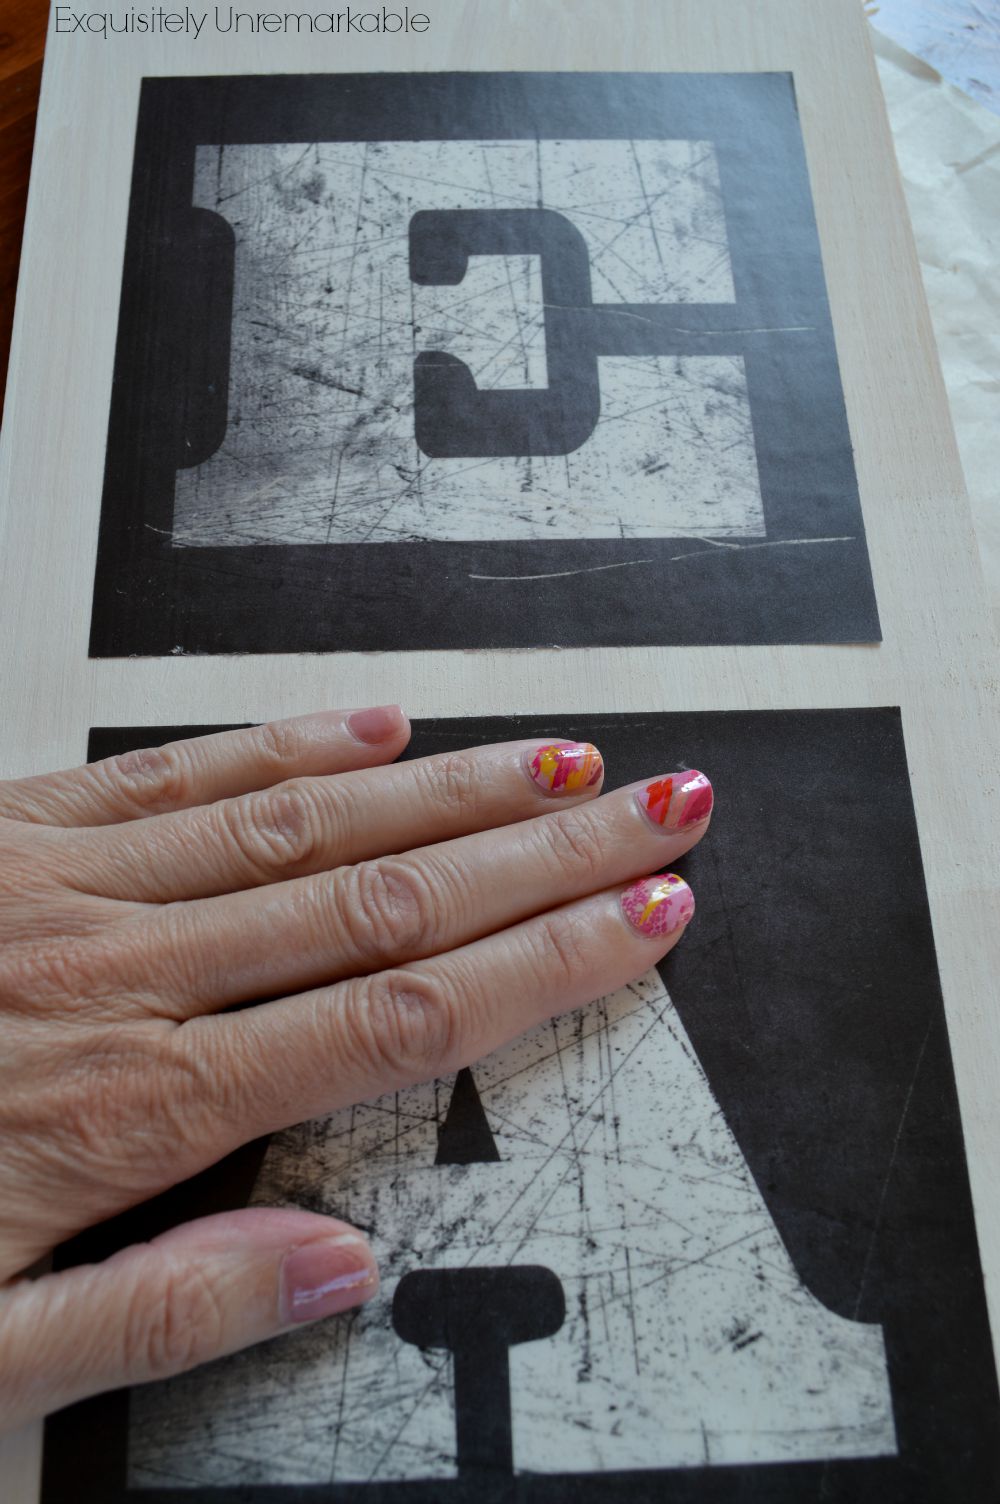
I generally eyeball the placement, but this particular sticker came in several parts, so I used a ruler for spacing. When I was happy with my product, I smoothed it down with my hand.
Super easy, super quick and super inexpensive…Exquisitely Unremarkable! Thanks for a lovely visit, Vivienne and a chance to share my sign!

Kim is a freelance writer who blogs about easy crafts, DIY and embarrassing stories at Exquisitely Unremarkable. She doesn’t own any power tools and can’t sew in straight line, so just don’t look too close!
Looking for a few more easy home decor crafts? Check out these pretties
 |

I love this and love that even someone like me, craft-challenged, could make this cute sign! Someone would need to hold the ruler and tell me where to put the letters though! 🙂
I love your signs! Stupid question–where do you get the boards? I would love to try to make one with your instructions. Thanks