
Hi everyone. This is Jenna from Wife in Progress here to share with you some fun crafts that you can whip up in one afternoon. These 5 DIY projects are both fun to make and cheap – a winning combination! SO here we go, 5 DIY projects you can do in one weekend!
Craft 1: Watercolor Clock
for the original post click here
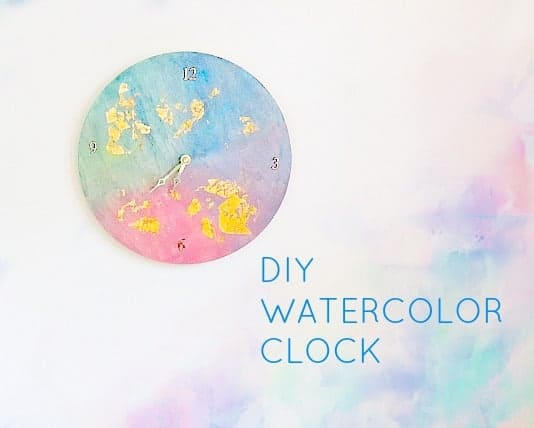
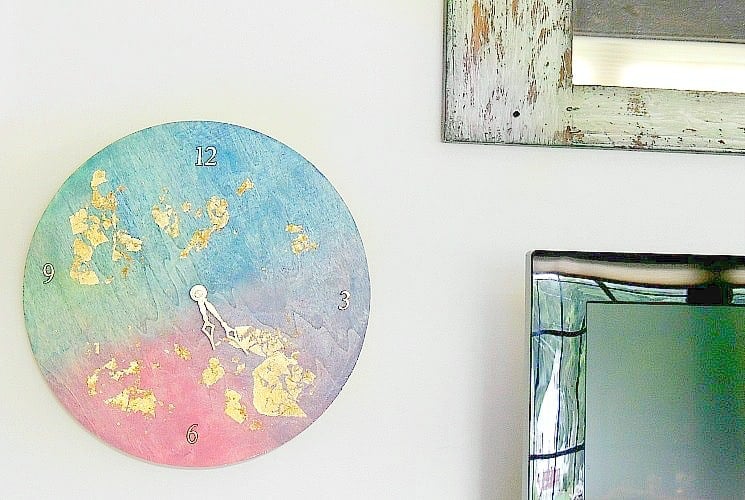
This fun DIY watercolor clock is a great addition to a gallery wall. If you purchase frugally and use coupons like I did, the cost of materials should be less than $15.

I love to work with watercolor paints and they are simple to use and you really don’t need to be artistic at all. The colors will blend into each other and give you a really nice effect.

I painted the clock face with a variety of colors and blended them with water. Then I attached the clock kit as per the directions. I decided to use some gold leaf too and just applied it randomly for an abstract effect.


Let it dry then hang it up. So pretty!

for the original post click here.
Craft 2: Place Mat Pillows

for the original post click here
An easy way to add some interest to a bed or couch is to add new pillows. If you have some old fabric place mats, you can turn those into cute lumbar pillows. This is so easy to do and will only take about 20 minutes of your time.
What You’ll Need:
Fabric place mats
Seem ripper/scissors
No-sew tape (or a thread & needle/sewing machine if you want to sew)
An old pillow or batting/pillow filling
Directions:
Rip open one side of the place mat so that you are left with an envelope enclosure.

Fold over ripped edge and secure in place with no-sew tape. The idea here is to clean up the edge.

 Stuff with whatever pillow filling you already have. OR cut an old pillow in half, sew up the exposed end and use as the perfect sized pillow form! And in less than 20 minutes you have these cute pillows:


Craft 3: Easy Chalkboard Printable

for the original post click here
First you will need to download this chalkboard background and one (or all) of these fonts: A Song for Jennifer, Sketchblock or KG Second Chances (Sketch). There are plenty of other “chalkboard” fonts out there but those are the three that I like the best. For this process you are going to use Pic Monkey, a free online image editor.
Here we go:
- Select Design > 8 x 10. This is the optimal size if you want to print your finished piece. If you need it bigger, enter a custom size.
- Select Textures > Your Own. Then find the location of the saved chalkboard background that you previously downloaded.
- Rotate the orientation to landscape.
- The next part is to add the text. Click on the text icon then Add Text. Change the font color to white and set the fade to around 15%. Next you will want to select the overlays option (the one with the butterfly). There’s many options to chose from depending on what you want on your chalkboard.
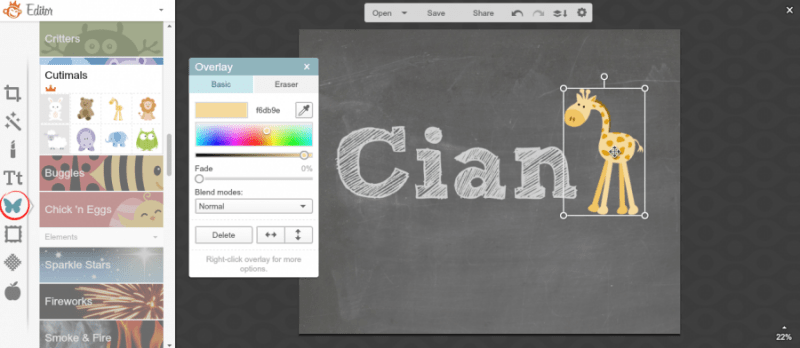
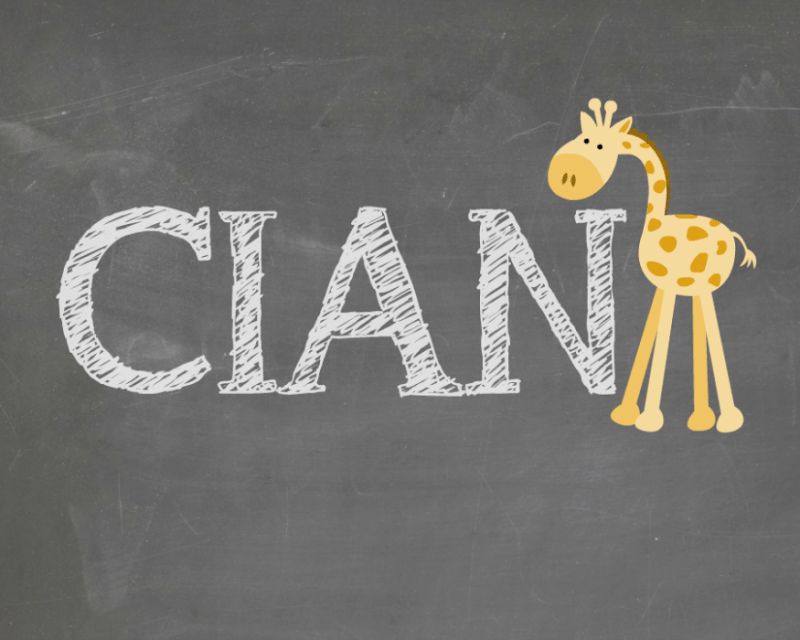
After playing around with different font options, you’ll see that I ended up with the font “A Song for Jennifer” in all caps. The cute giraffe adds the perfect finishing touch!

- Save your file as a jpeg. I uploaded my finished one to Shutterfly and had it printed up. Shutterfly doesn’t allow you to upload .png files so it must be a jpeg.
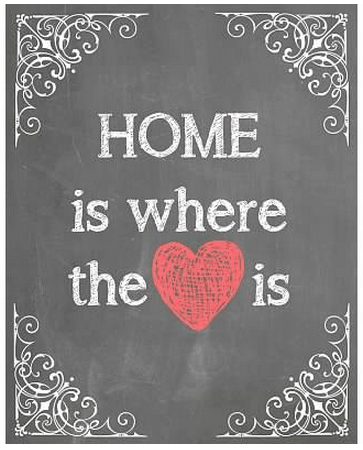
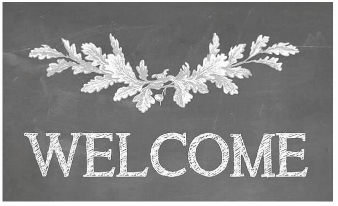
This tutorial can be used to make many other types of fun chalkboard printables such as these that I have available for download. You could also create some fun signs for your entry way such as these that I made last year:
Craft 4: Colorful Painted Tile Coasters

for the original post click here
These coasters are so simple to make, you could easily have your kids help or have them make them themselves.
You will need:

- White 4 x 4 ceramic tiles. I picked mine up at Lowes for 16c a piece! (This may alsopossibly be the CHEAPEST project EVER!)
- Felt pads (or a piece of felt cut to fit under the tile)
- Painters tape
- Multi-surface acrylic paint ( I love the Americana multi-surface in the satin finish)
Directions:
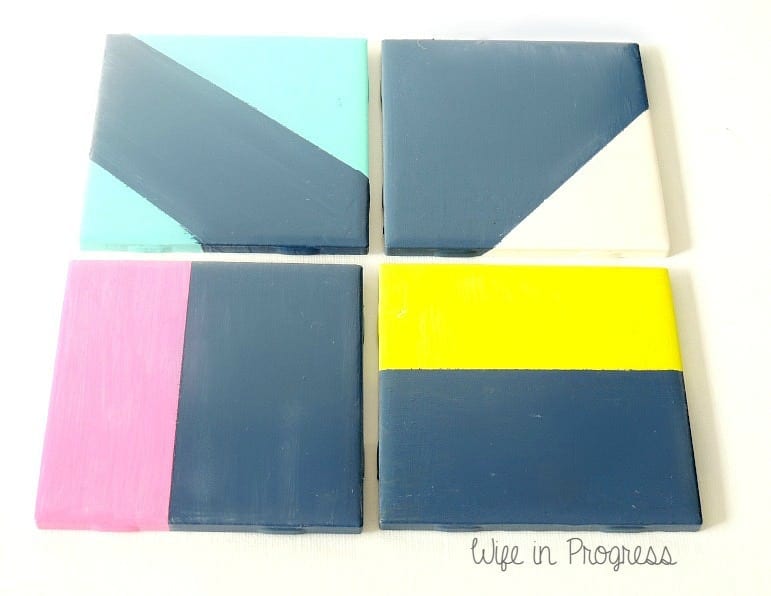
- Decide what design you want. I wanted to stick geometric so I just taped off sections at a straight angle.
- Paint the untaped section. Let it dry. Paint as many coats as you need until you achieve the desired coverage. I needed about 3 coats.
desired coverage. I needed about 3 coats.

- Once this is dry, remove the tape and paint a contrasting color. I love bright colors against navy so I picked a bunch of really bright, fun shades.
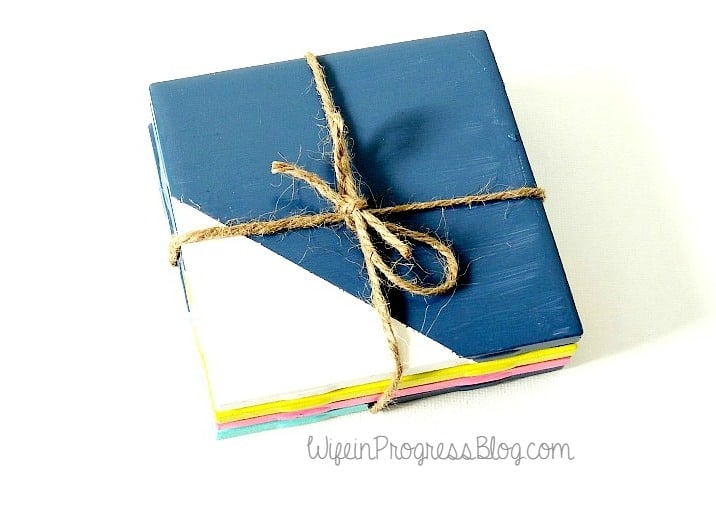
- Add some felt to the bottom or some felt pads to the bottom corners so that the coasters don’t scratch whatever surface they are placed on.
- If you’re presenting as a gift just stack ’em up and wrap some twine around them.

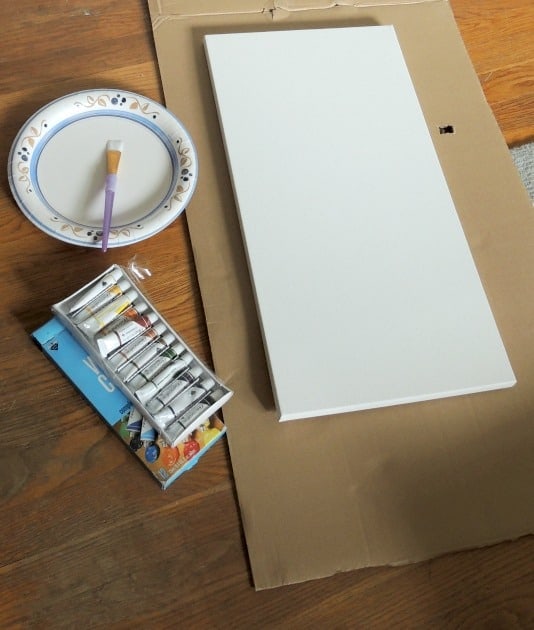
Craft 5: Paint Your Own Watercolor Artwork

for the original post click here
What You’ll Need:
You will need:
- A blank canvas
- Watercolor paints
- A paintbrush
- Gold Leaf Sheets
- Water
Choose your color palette. I was inspired by a sunset so I chose a dark blue, red and yellow. I swiped the color across the canvas and blended it down with water. I repeated this process with red and yellow, continuing to blend them with water.
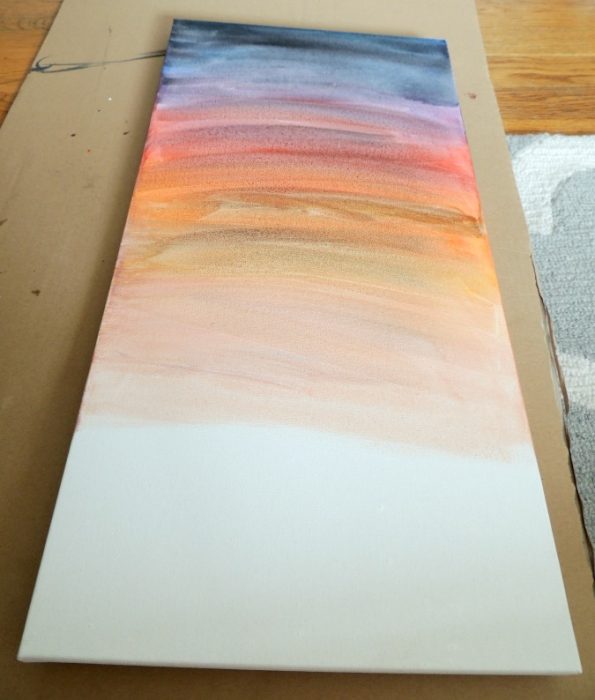
This is a closeup of the paint while still wet. Once it had dried I went back and built up the color in some
parts. I also decided to add some white to give it some more depth and interest.

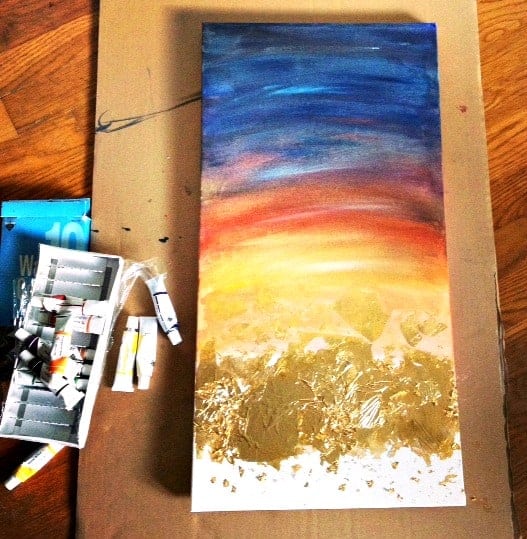
I love the look of gold leaf so I decided to add some to the bottom of the canvas. You can leave it out or apply it wherever you want. All you need to do is put some glue down (Elmers or Mod Podge works well) and place the leaf over it using a foam brush or paint brush. It’s super delicate so will probably break into pieces but I like the effect that gives.
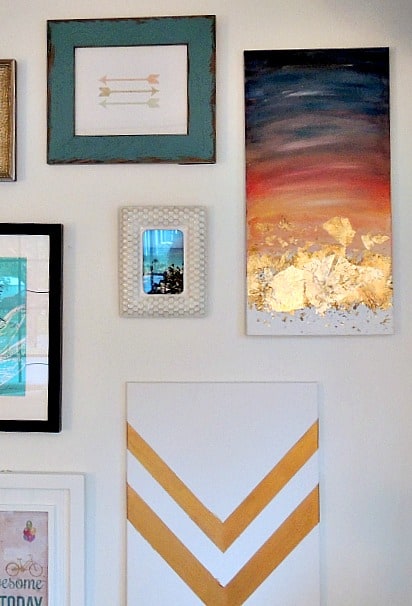
That’s it! Just bang a nail into the wall and hang the canvas.
And that’s it – 5 easy projects that you can do this weekend. I’d love to see what you guys come up with.
Share your finished crafts with me on Facebook, Twitter or Instagram. And if you would like more fun crafty DIY tutorials don’t forget to check out Wife in Progress.
Love all the projects! The watercolor clock looks amazing and the coasters will definitely be my next project. I will start it tomorrow! Thank you for sharing them, your blog is just awesome!