My son Conner is a huge Seattle Seahawks fan.
My son Grant is going through a phase where he is peeling things. Stickers and labels… paint on the wall… plastic laminate on a toilet seat…
I don’t know what has gotten into him, but I think we broke him of the habit. (And Conner got a Seattle Seahawks chair for his room out of the deal!) Just in time for the big game, I made over a peeled, ripped up dining room chair and turned it into the perfect Superbowl seat.

One of the things Grant has been peeling are our dining room chairs. What started as a tiny crack was peeled into a ridiculous mess. The little stinker. So I made him finish peeling the whole thing in its entirety.
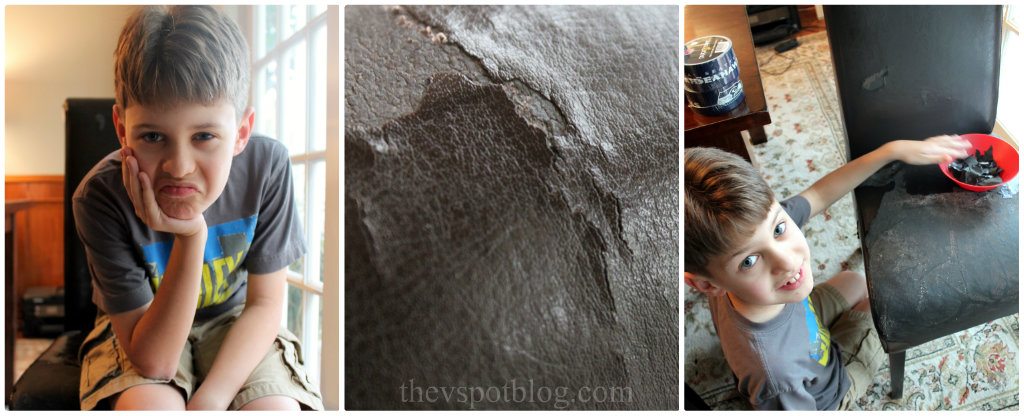
He’s already received countless lectures on this peeling situation, but by the end of this chair peeling project, that kid was over it. I don’t think he’ll peel anything ever again. (“Mom, can I be done now…?”)
Once the chair was ready, I broke out this fabulous Seattle Seahawks tape from The Duck Brand.
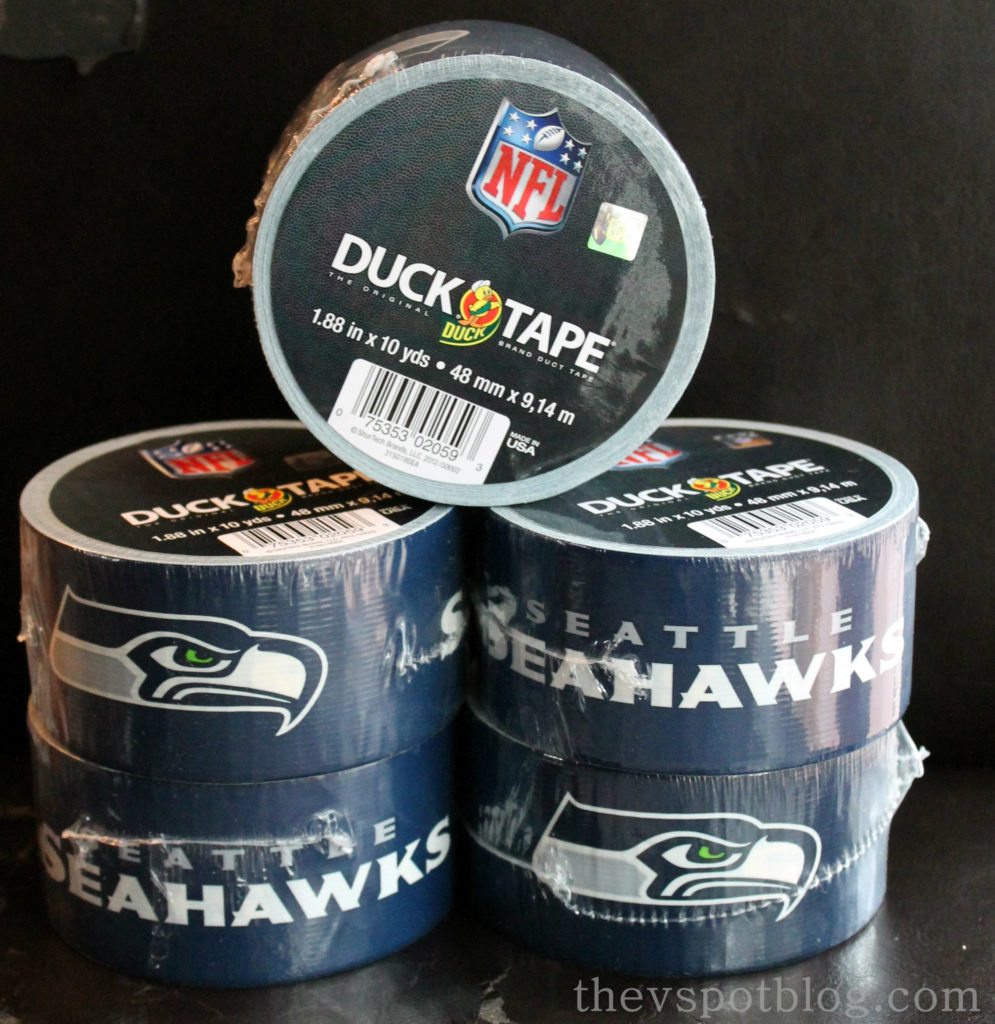
This project took almost 4 rolls of Duck Tape to complete it, because I wanted the pattern to line up. If you didn’t care about that, you would end up using about two and a half rolls.
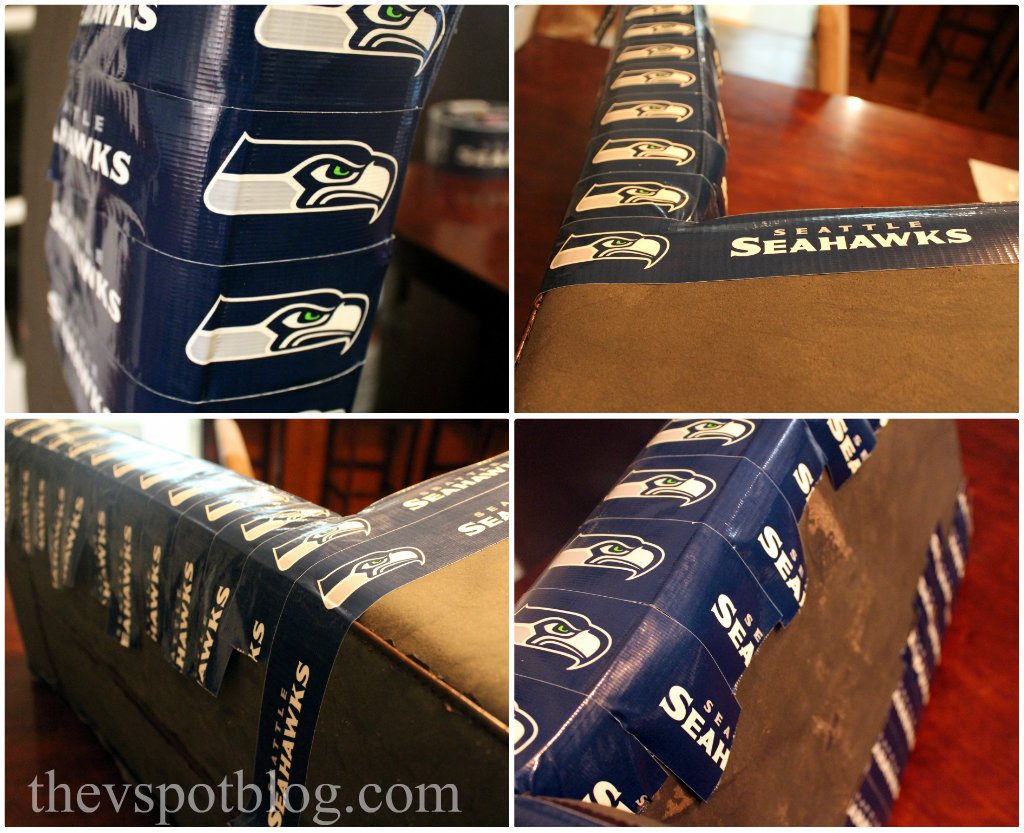
I started on the sides of the chair, deciding that the Seahawk logo needed to run down the sides. I eyeballed it, so it’s not perfect, but there is a nice stripe of Seahawks running down the sides of the chair. Go ahead and leave excess tape to go around to the front and back of the chair. Once the sides are complete, you can start on the front of the chair. I think Duck Tape sticks the best to Duck Tape, so this is where the overlapping tape helps you out.

I used scissors to trim the edges of the tape so that it fit right up to the edge of the chair. Note: I was at the CHA trade show a few weeks ago and one of the products coming on the market soon is a pair of scissors from Fiskars that are designed to cut Duck Tape without getting all sticky and gross. (I didn’t have a pair of them, so my regular scissors got sticky and gross. You clean them up and keep going.)

Once the main parts of the chair were covered, then you just need to watch for the edges. Use your scissors and clip as necessary. For around the legs of the chair, I just cut the tape and tucked the edges.

Once everything was in place, I was sure to go over all of the tape to ensure that it was totally stuck to the chair and to try to smooth out any little bubbles or wrinkles.

It isn’t perfect, but Conner is pretty happy with it. And I think Grant has learned his lesson about peeling things.
Who are you rooting for on Sunday?
This is Awesome! how long did the tape last?
It lasted about a year. (It would have lasted longer, but there was a bad little boy at our house who started picking at it and it got a loose spot and eventually the whole chair had to go.)
I love THIS POST. IT IS SO EASY TO MAKE ONE CHAIR FOR MY ROOM.
BUT IT USES TAPES, I’M WONDERING HOW TO PROLONG ITS LIFE.
Does it work well in wet conditions?
Probably not. I recommend keeping it inside.
Great product, probably gonna try it soon!